Table of Contents:
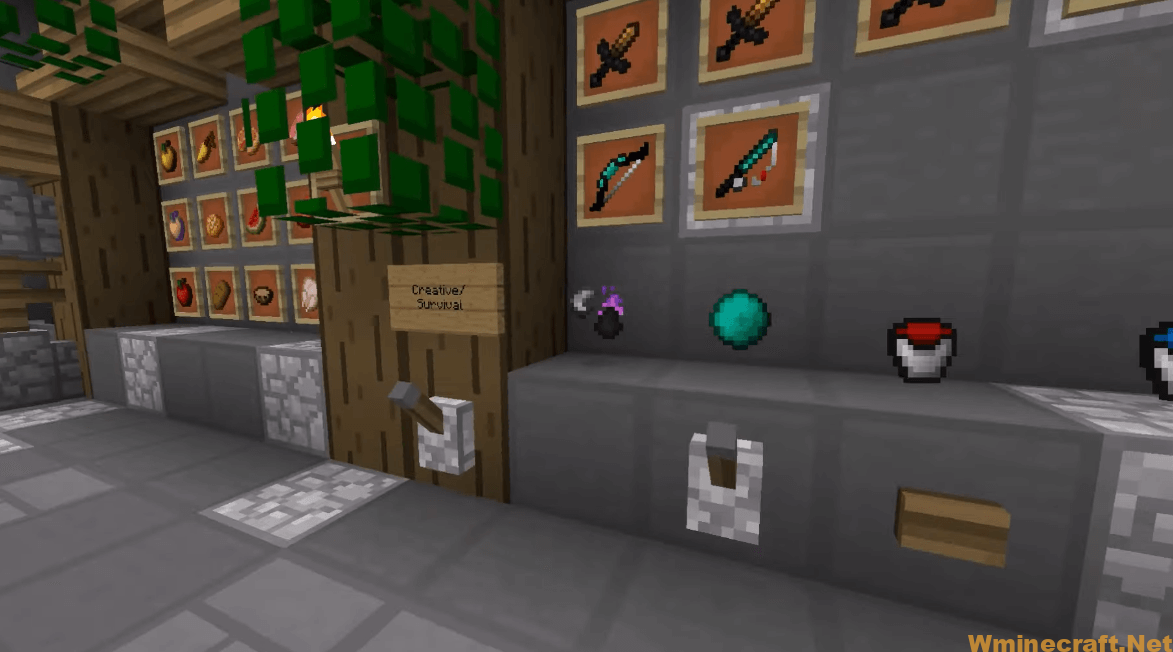
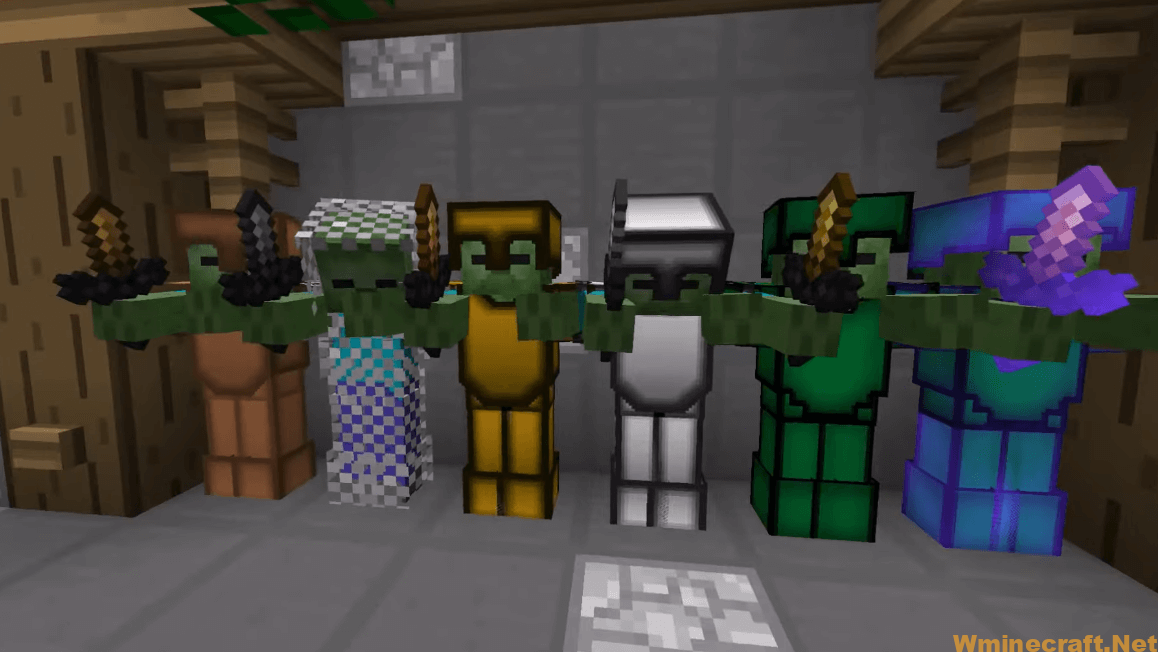
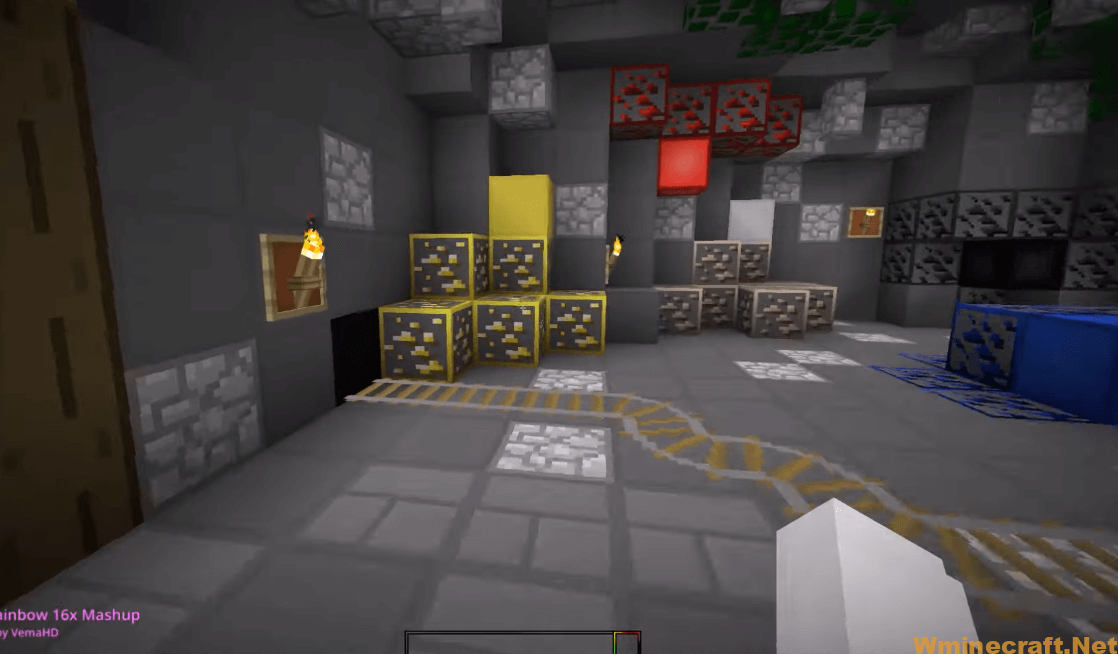
Animated Rainbow PvP resource pack elevates your typical gaming experience to a higher level. The simple stylistic views of most pvp resources are what keep players from using them, but this is one that’s different! It has numerous new elements added in for depth – you’ll never want any other type again after trying out these cool designs on blocks and items alike.
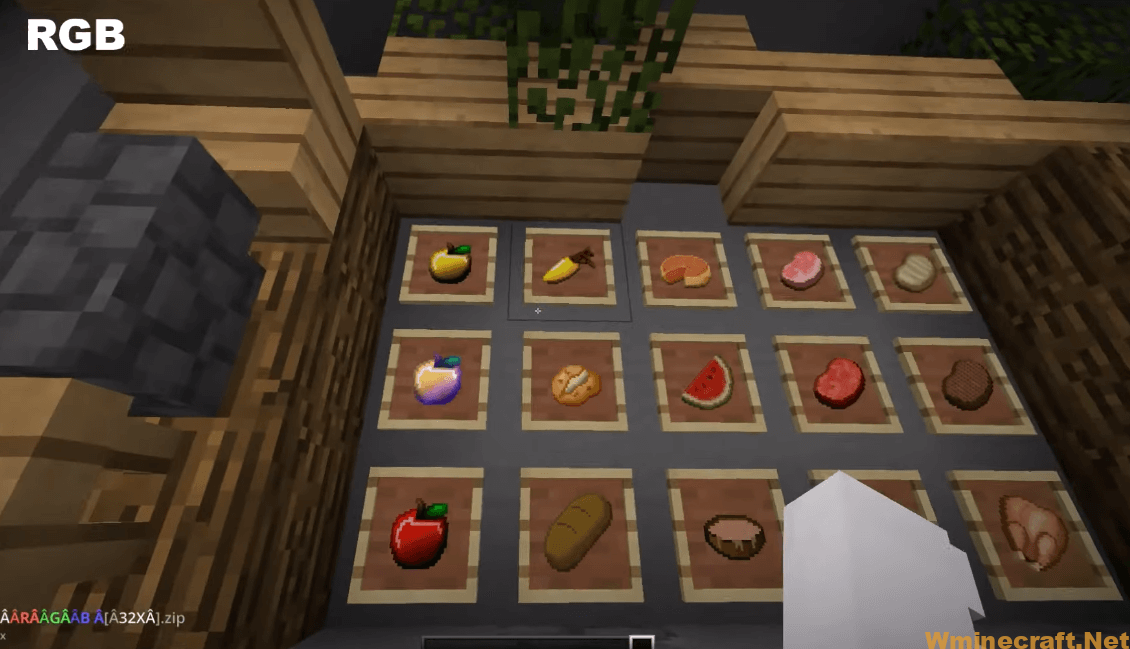
This Rainbow PvP texture pack contains completely new, customized textures with 64×64 items and blocks. Most Animated Rainbownehouse block or an animation in the game has a resolution of this size so that you can see more detail when using smaller screens which is why these packs are perfect for your system to have great graphics power without having fake hardware.
How to install:
- Requires Optifine HD
- Download a Animated Rainbow Resource Pack, you should get a .zip file.
- Open the folder to which you downloaded the file.
- Copy the .zip file.
- Open Minecraft.
- Click on “Options”, then “Resource Packs”.
- Choose “Open resource pack folder”.
- Paste the file into the resource folder in Minecraft.
- Go back to Minecraft, the resource pack should now be listed and you can activate it by choosing it and hitting “Done”.
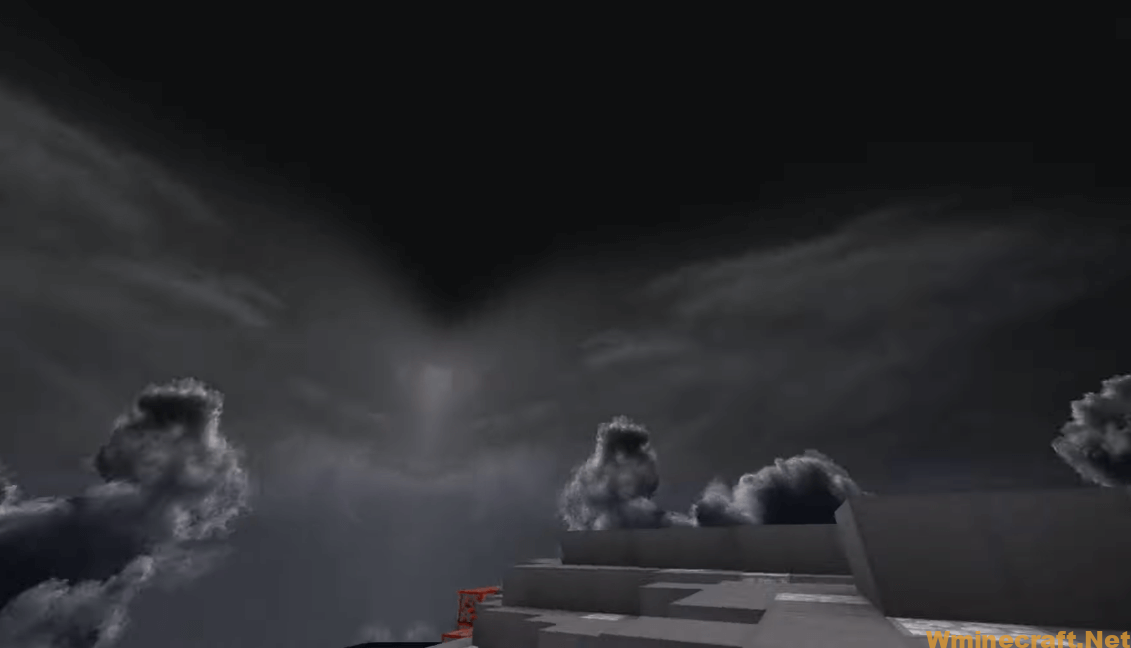
Animated Rainbow PvP Resource Pack Screenshots:
Animated Rainbow PvP Resource Pack Download Links:
[64x] [1.15.x] Download Animated Rainbow PvP Resource Pack
[64x] [1.14.x] Download Animated Rainbow PvP Resource Pack
[64x] [1.8.x] Download Animated Rainbow PvP Resource Pack
Official links:
Check out the Animated Rainbow PvP Resource Pack on the Official Source
How to install OptiFine 1.17.1/1.16.5 :
1. Ready installed Minecraft Forge.
2. Download a Forge compatible mod from url download, or anywhere else!
3. Open Minecraft game, click ->> ‘Mods’ button from main menu, click – >> ‘Open Mods Folder’.Important: Some older versions of Forge may not have the ‘Open Mods Folder’ button. If that is the case, you will need to find the folder manually. Windows:
Press the Windows key and R at the same time
Type %appdata% and press enter
Find folder Minecraft and then look for the Mods folder within that
Mac:
Click on the desktop and then press Command+Shift+G all at the same time
Type ~/Library and press enter
Open the folder Application Support and then Minecraft
4. Place the mod file downloaded (.jar or .zip) into the Mods folder.
5. Run Minecraft, and you should now see the new mod installed in the list!
 Experience The New Reality of Minecraft")

