Table of Contents:
Shamrock PvP is a stylish, well designed resource pack with stunning visuals that will make your Minecraft experience more enjoyable. Redesigning the default Player Damage System for an added challenge and rewarding those who fight other players instead of monsters; this pack has been made to give you all what makes gaming worth it: competition!

This resource pack has got a x64 resolution that might cause some problems, but it also comes in an interesting manner. While most people are used to playing Minecraft at resolutions lower than what is offered by default on PC’s these days–16xGamma32-bit color depth and X8 antialiasing being two examples of such stock settings–someone with high tier optimization can take advantage of this higher quality for their game regardless if one has outdated hardware or not!
How to install:
- Requires Optifine HD
- Download a Shamrock Resource Pack, you should get a .zip file.
- Open the folder to which you downloaded the file.
- Copy the .zip file.
- Open Minecraft.
- Click on “Options”, then “Resource Packs”.
- Choose “Open resource pack folder”.
- Paste the file into the resource folder in Minecraft.
- Go back to Minecraft, the resource pack should now be listed and you can activate it by choosing it and hitting “Done”.
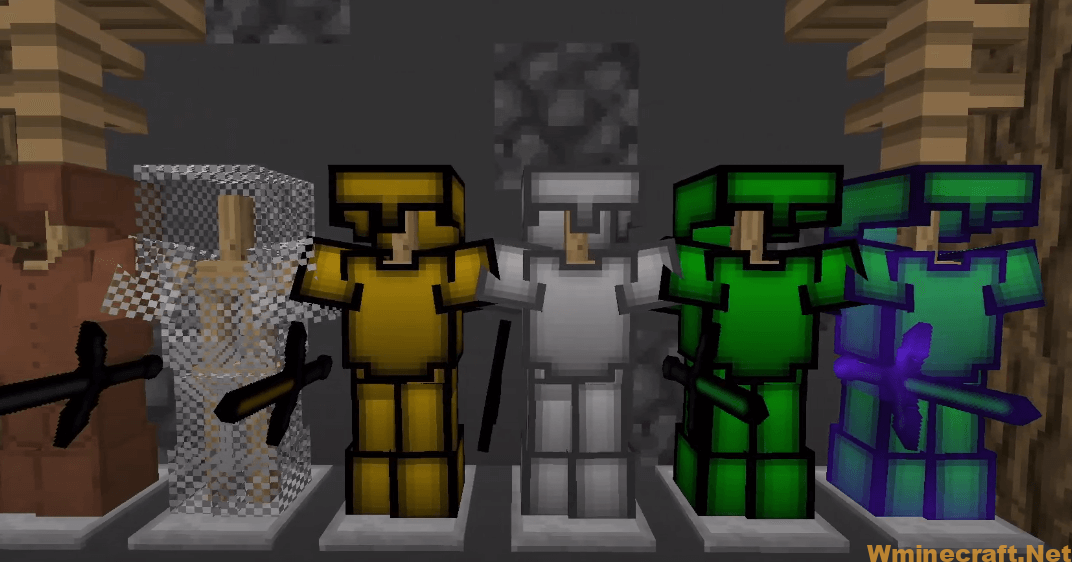
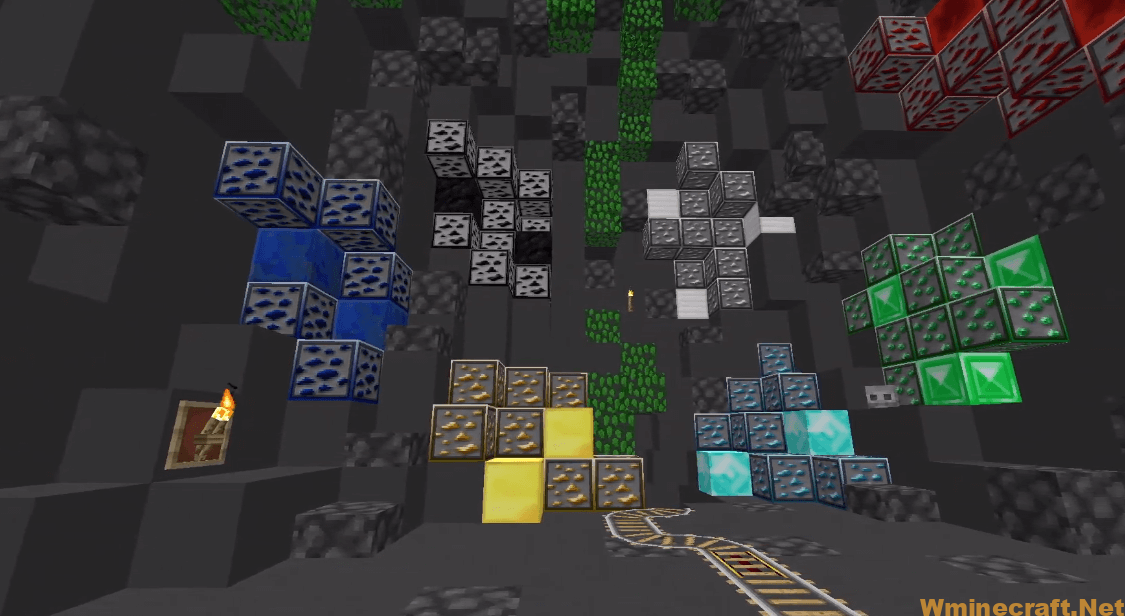
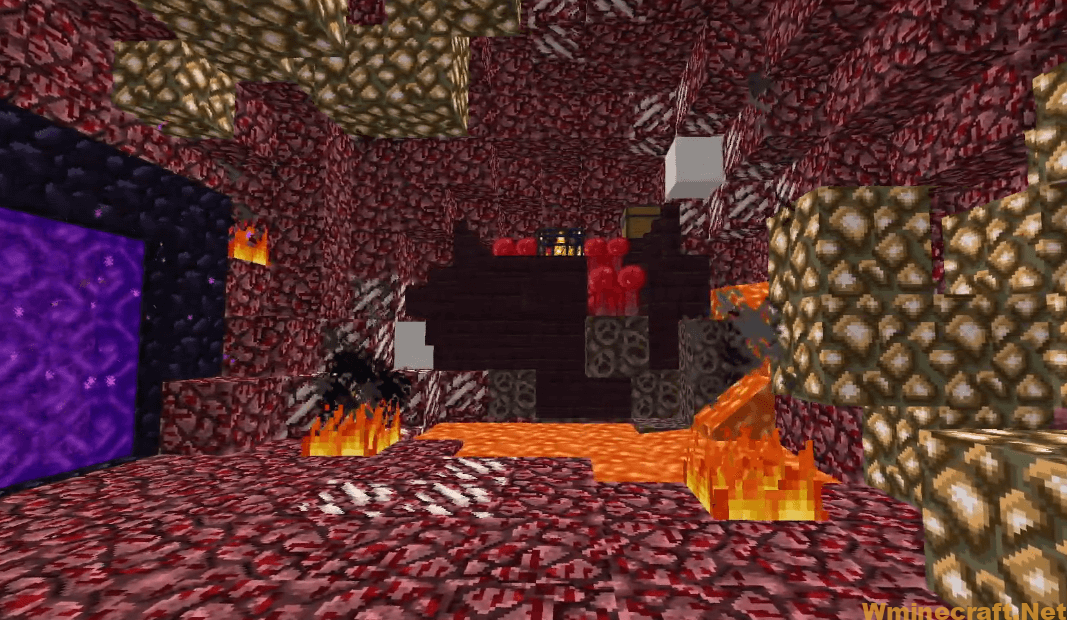
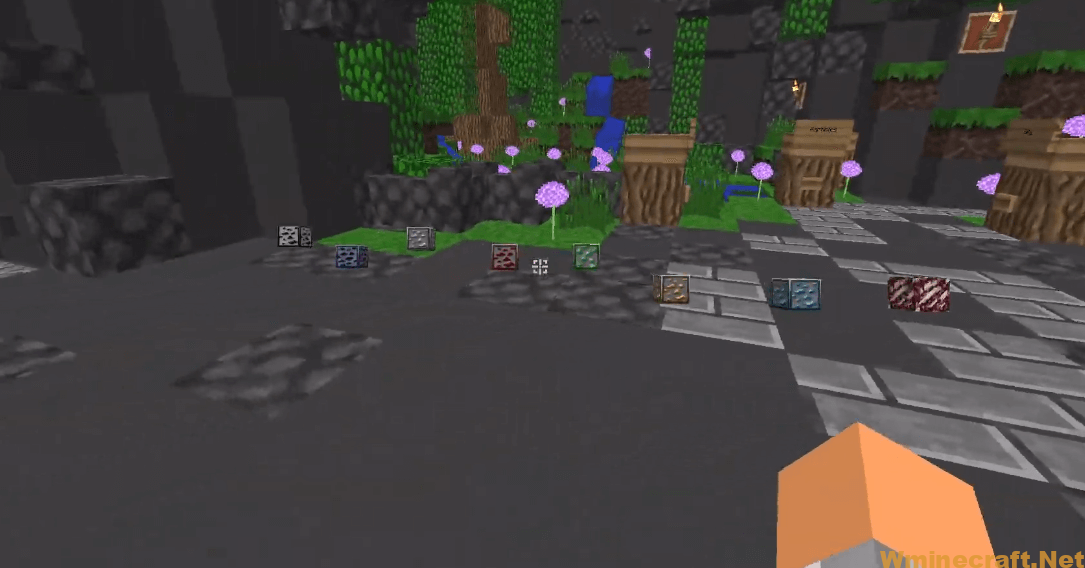
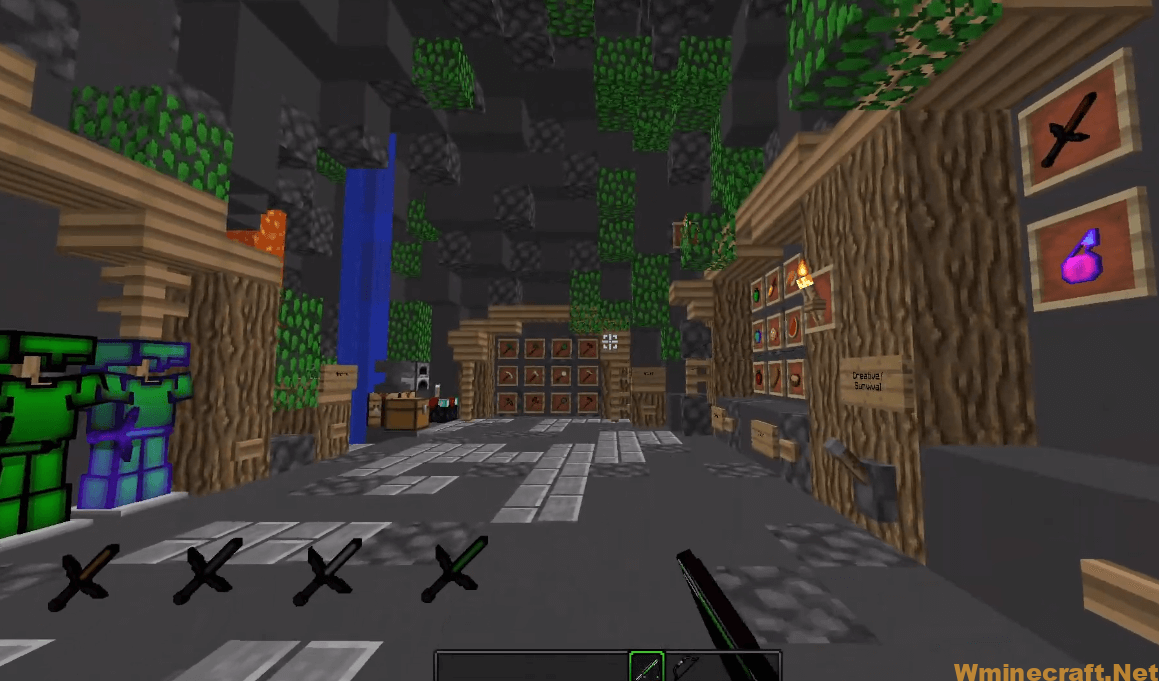
Screenshots
Shamrock PvP Resource Pack Download Links:
[64x] [1.8.x] Download Shamrock PvP Resource Pack
Official links:
Check out the Shamrock PvP Resource Pack on the Official Source
How to install OptiFine 1.16.5 :
1. Ready installed Minecraft Forge.
2. Download a Forge compatible mod from url download, or anywhere else!
3. Open Minecraft game, click ->> ‘Mods’ button from main menu, click – >> ‘Open Mods Folder’.Important: Some older versions of Forge may not have the ‘Open Mods Folder’ button. If that is the case, you will need to find the folder manually. Windows:
Press the Windows key and R at the same time
Type %appdata% and press enter
Find folder Minecraft and then look for the Mods folder within that
Mac:
Click on the desktop and then press Command+Shift+G all at the same time
Type ~/Library and press enter
Open the folder Application Support and then Minecraft
4. Place the mod file downloaded (.jar or .zip) into the Mods folder.
5. Run Minecraft, and you should now see the new mod installed in the list!
 Experience The New Reality of Minecraft")

