Table of Contents:
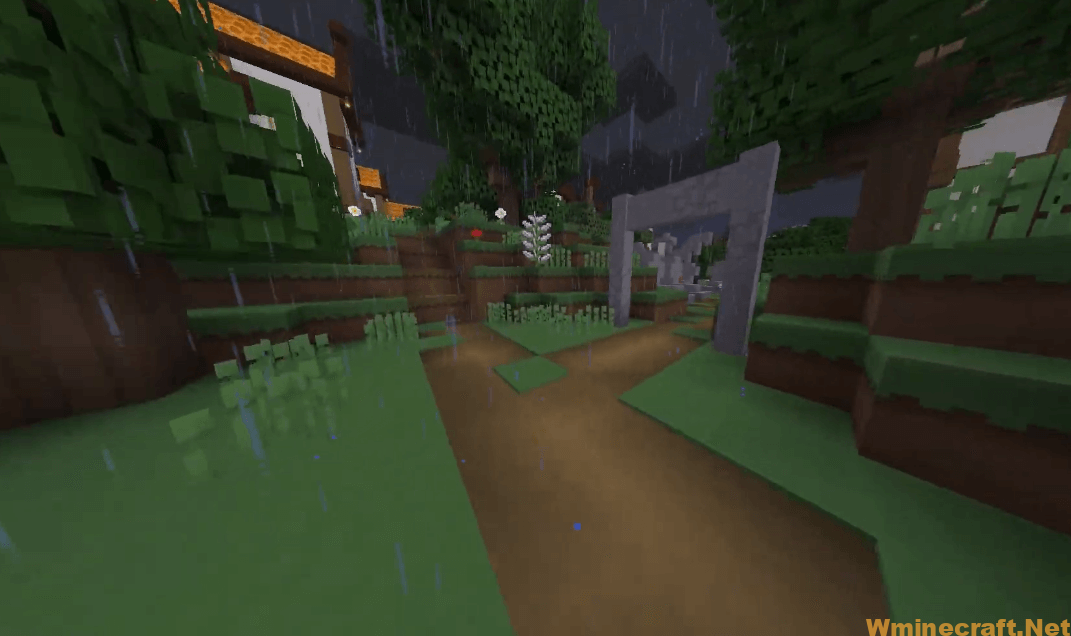
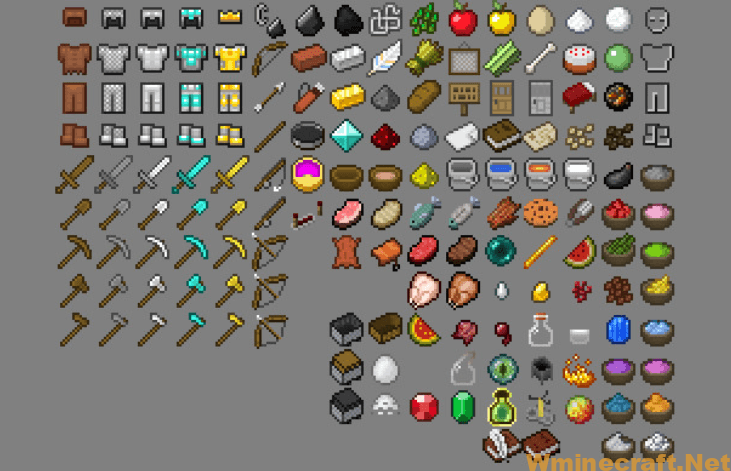
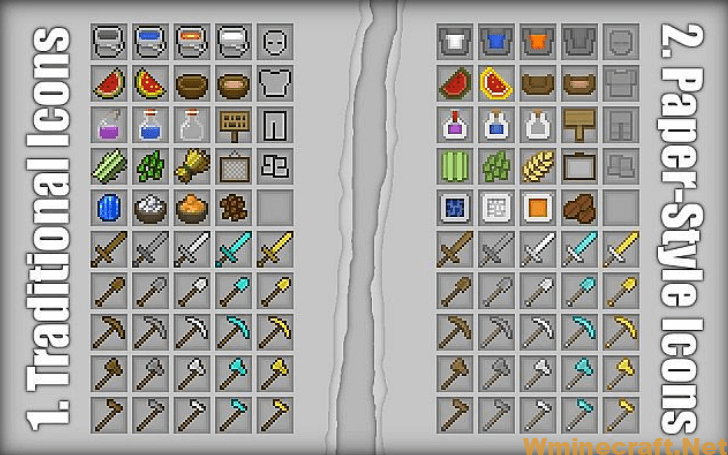
Do you ever get tired of looking at the same old blocky Minecraft graphics? The Paper-Cut Out resource pack is a very simple and beautiful texture pack for Minecraft. The simple style aims to make the traditional icons look like flat, paper cut-outs of the original. The style really shows when comparing how the ore blocks look in game with the new paper style ores becoming visually distinctive, flat icons. The whole goal of this pack is to take the original blocky nature of Minecraft graphics and turn them into a flat paper world where everything appears as a unique cut out.
The Paper-Cut Out resource pack has been designed to be compatible with all versions which makes it perfect for people who are looking for an alternative to
The Paper-Cut Out pack is one of the most versatile packs because it’s so simple and easy to use. The lack of advanced textures, scripts or sounds makes this resource modding friendly even with a ton mods installed on your computer.
A very basic and lovely texture pack for Minecraft is called Paper-Cut Out. The minimalist design makes the conventional icons appear to be flat, paper-cutout replicas of the originals. The aesthetic is most apparent when contrasting the in-game ore blocks with the new paper-type ores, which have flat icons with a distinctive appearance. This pack’s primary objective is to transform Minecraft’s basic blocky graphics into a flat paper environment where each object looks like a distinct cutout. This pack makes up for its lack of high-quality visuals with its simplicity. Small textures make up the surface. This resource pack just includes modified textures, thus downloading, modifying, and installing them is simple.
You only need to drag the file to your computer’s resource pack folder to activate it; it won’t take up much space. You can do this either before or after creating a new world. There won’t ever be any lengthy loading periods, unlike with some other larger texture packs, thanks to the modest texture sizes. The Paper-Cut Out pack is one of the simplest to use and manage because it lacks sophisticated textures, scripts, and noises. This resource pack may still be used with a ton of sophisticated modifications despite its simplicity and straightforward design. In fact, because there is less to change to make them compatible with the mods themselves, smaller texture packs are typically simpler to include in mods and mod packs. With all of this, the Paper-Cut Out resource pack ranks as one of the most flexible, straightforward, and user-friendly texture collections for your Minecraft game.
How to install:
- Requires Optifine HD
- Download a Paper Cut Out Resource Pack, you should get a .zip file.
- Open the folder to which you downloaded the file.
- Copy the .zip file.
- Open Minecraft.
- Click on “Options”, then “Resource Packs”.
- Choose “Open resource pack folder”.
- Paste the file into the resource folder in Minecraft.
- Go back to Minecraft, the resource pack should now be listed and you can activate it by choosing it and hitting “Done”.
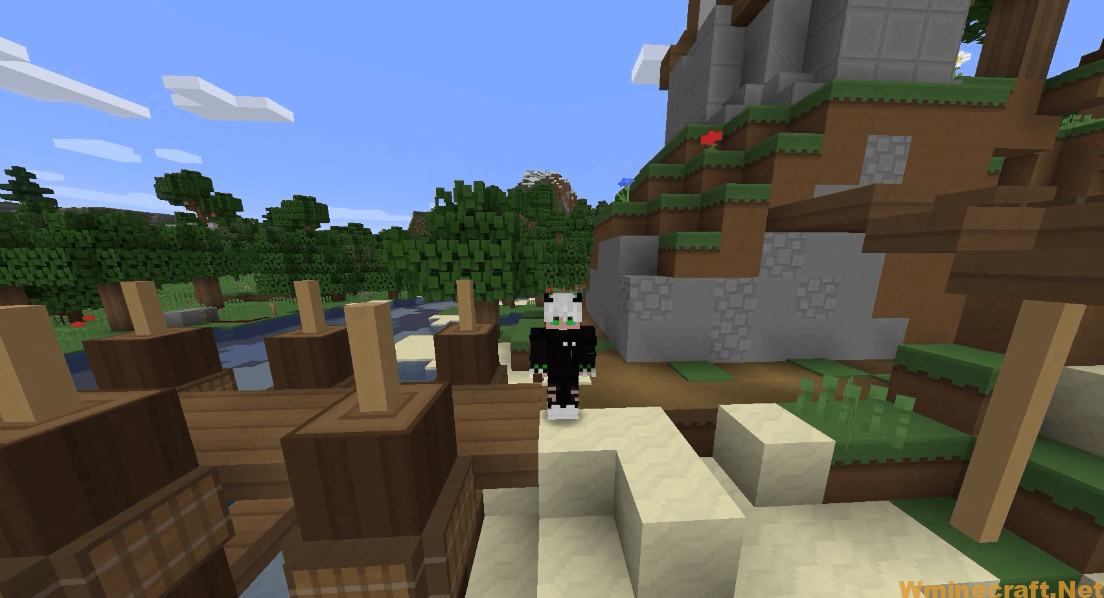
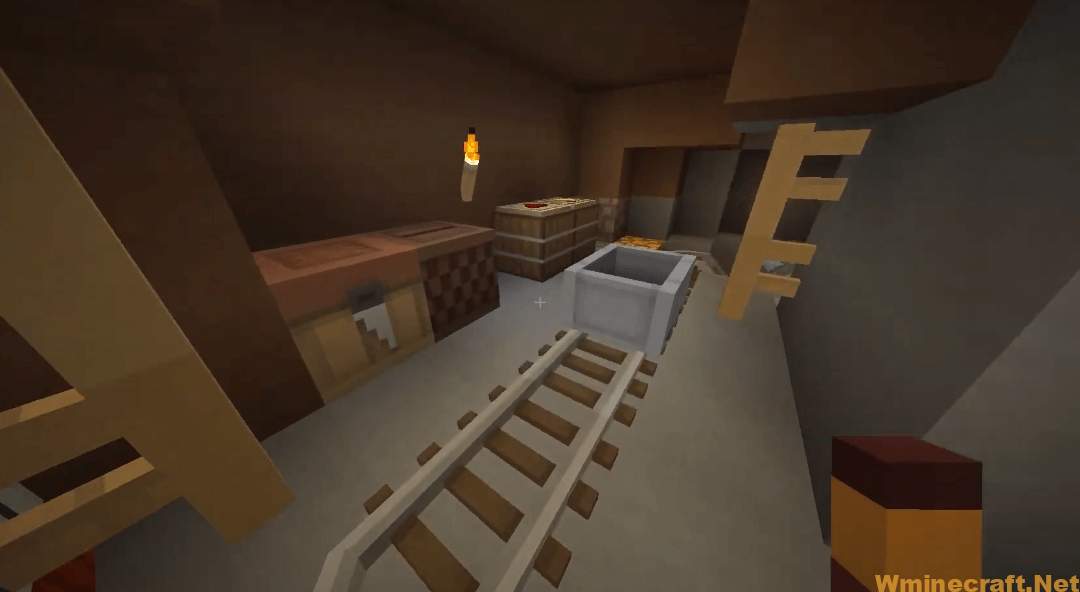
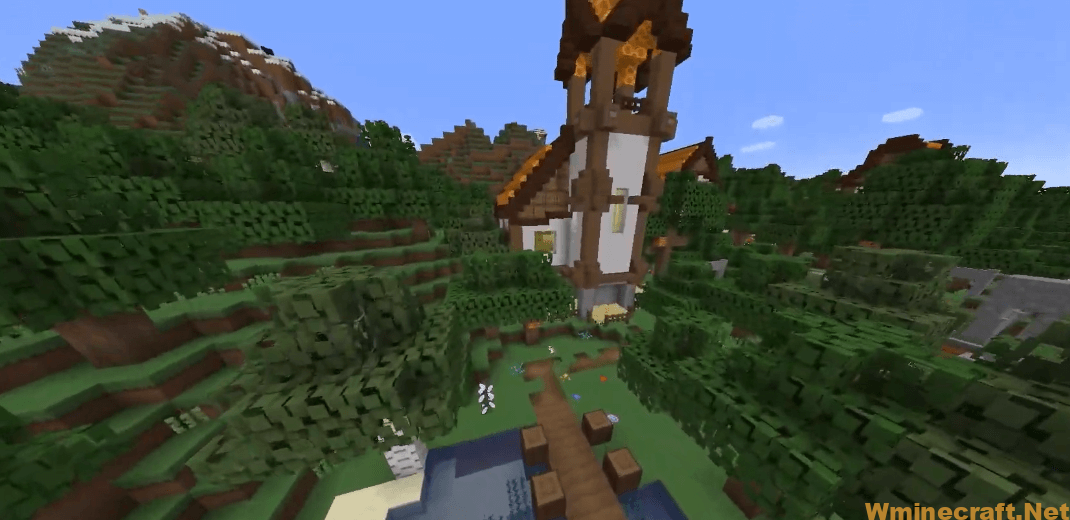
Paper Cut Out Resource Pack Screenshots:


Paper Cut Out Resource Pack Download Links:
[16x] [1.17.x] Download Paper Cut-Out Resource Pack
[16x] [1.16.x – 1.14.x] Download Paper Cut-Out Resource Pack
[16x] [1.11.x – 1.10.x] Download Paper Cut-Out Resource Pack
PvP Edition:
[16x] [1.17.x] Download Paper Cut-Out – PvP Resource Pack
Bedrock edition:
Download Paper Cut-Out Bedrock Edition Resource Pack
Official links:
Check out the Paper Cut-Out Resource Pack on the Official Source
How to install OptiFine 1.17.1/1.16.5 :
1. Ready installed Minecraft Forge.
2. Download a Forge compatible mod from url download, or anywhere else!
3. Open Minecraft game, click ->> ‘Mods’ button from main menu, click – >> ‘Open Mods Folder’.Important: Some older versions of Forge may not have the ‘Open Mods Folder’ button. If that is the case, you will need to find the folder manually. Windows:
Press the Windows key and R at the same time
Type %appdata% and press enter
Find folder Minecraft and then look for the Mods folder within that
Mac:
Click on the desktop and then press Command+Shift+G all at the same time
Type ~/Library and press enter
Open the folder Application Support and then Minecraft
4. Place the mod file downloaded (.jar or .zip) into the Mods folder.
5. Run Minecraft, and you should now see the new mod installed in the list!
 Experience The New Reality of Minecraft")

