Table of Contents:
The Create mod should be well-known to many players since it has about 26 million downloads between the Forge and Fabric versions of the mod. For those looking to industrialize their worlds, the Create mod adds things like railroads, machines, automation, and automatic crafting, among other things.
Before Mojang added server functionality, they modified the game’s code to add features like brute force multiplayer. The entire game may be customized with resource packs to alter the appearance and mods to alter the overall feeling of the experience.
1) Decide on Fabric or Forge
Two major mod foundations are used in modern Minecraft. There is the original: Forge, which has been the go to for many years now. There is also now, however, the Fabric mod loader, which is a much newer, and better optimized way to play with mods.
Players can use either for the Create mod, as there is a version of the mod for each mod loader. So, they should simply go with their preference, or pick whichever loader has better compatibility with other mods that they wish to use.
2) Download and Install Fabric or Forge
Players should download the loader that is compatible with Minecraft 1.18 because that is the most recent version of the game for which the Create mod has been updated.
They must run the downloaded file after it has been downloaded. An installer that will automate the installation procedure ought to be used. Simply check that it is for the 1.18 version of the game and that the client-side version is being installed.
3) Find the Create mod’s page on CurseForge
Once the mod loader has been installed, players should launch the game to make sure nothing is broken. Assuming that everything is working as intended, they can then move on to the next step of the installation process: downloading the mod.
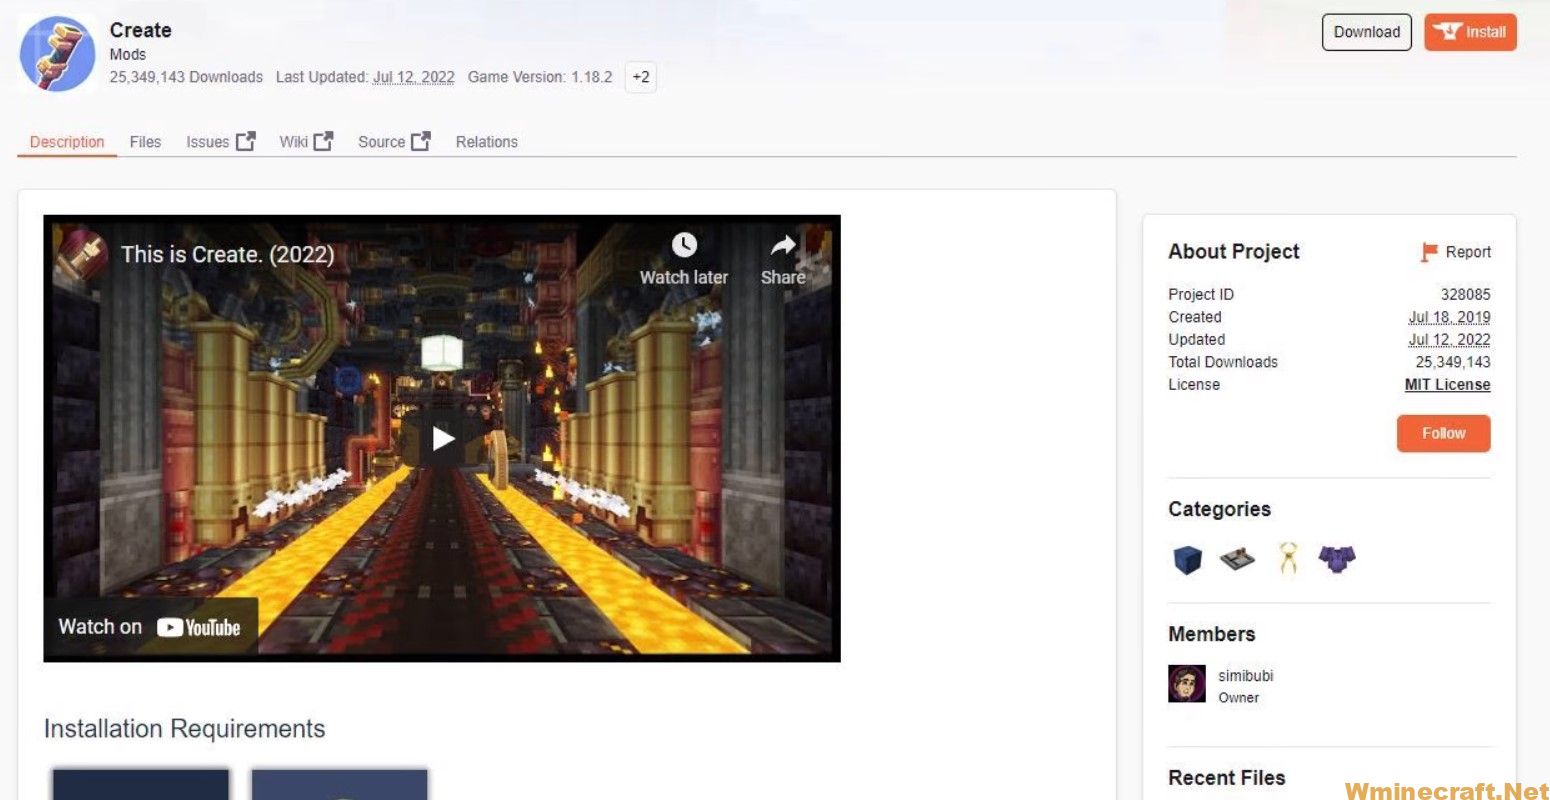
Players will need to go CurseForge’s website, select Minecraft, and then go the mods section. From here, they can either search for “Create” or “Create Fabric” depending on their installed mod loader.

The Create mod’s page on the CurseForge website (Image via CurseForge)
4) Download the Create Mod
Once players have found the Create mod page for their version, they should click the install button next to the 1.18 version of the game. This will take them to another page, with a five-second countdown timer.
Once this timer ends, players should be prompted to save the jar file in a selected location. They should save the file somewhere easy for them to find, as it will need to be moved, or save it to the mods folder off the bat.
Players should also install any dependency mods that are required, as listed on their version of the mod’s CurseForge page.
Check chocapic shaders 1.15.2


