Table of Contents:
Do you love Minecraft but find the process of rebuilding structures tedious? Have you ever wished there was an easier way to share your creations with others? If so, then Schematica Mod is perfect for you! This mod allows you to display holograms of your creations inside the game, making it much easier to rebuild them. You can also save your schematics to files and share them with others. So download Schematica Mod now and start creating some amazing Minecraft masterpieces!
As you walk through the door of the old, abandoned building, you can’t help but feel a sense of excitement. You’ve been looking forward to exploring this place for weeks!
You take a few steps inside, and then stop in your tracks as you see a ghost image of a schematic file hovering in the air before you. You quickly realize that this is no ordinary building – it’s been built using the Schematica Mod!
You begin to explore the building, taking note of every detail as you go. You even export parts of it into schematic files so that you can rebuild it later. What an amazing discovery!
How to install Download Schematica Mod for Minecraft?
Follows 5 Steps below to install Download Schematica Mod for Minecraft on Windows and Mac :
1. Download and install Minecraft Forge, you can read the instructions below the article.
2. Download the Download Schematica Mod for Minecraft.
3. Open the . minecraft folder and then enter the mods folder. Important: Some older versions of Forge may not have the ‘Open Mods Folder’ button. If this is the case, create the directory under the name mods.
Windows:
Press the Windows key +R at the same time
Type %appdata% and press enter
Find folder Minecraft and then look for the Mods folder within that
Mac:
Click on the desktop and then press Command+Shift+G all at the same time
Type ~/Library and press enter
Open the folder Application Support and then Minecraft.
4. From here, drag in the mods file downloaded (.jar or .zip) you wish to add.
5. Run Minecraft, and you should now see the new mod installed in the list!
Enjoy Download Schematica Mod for Minecraft, If there is an error, please comment on this article we will support
See more:
Features:
– Easily rebuild structures.
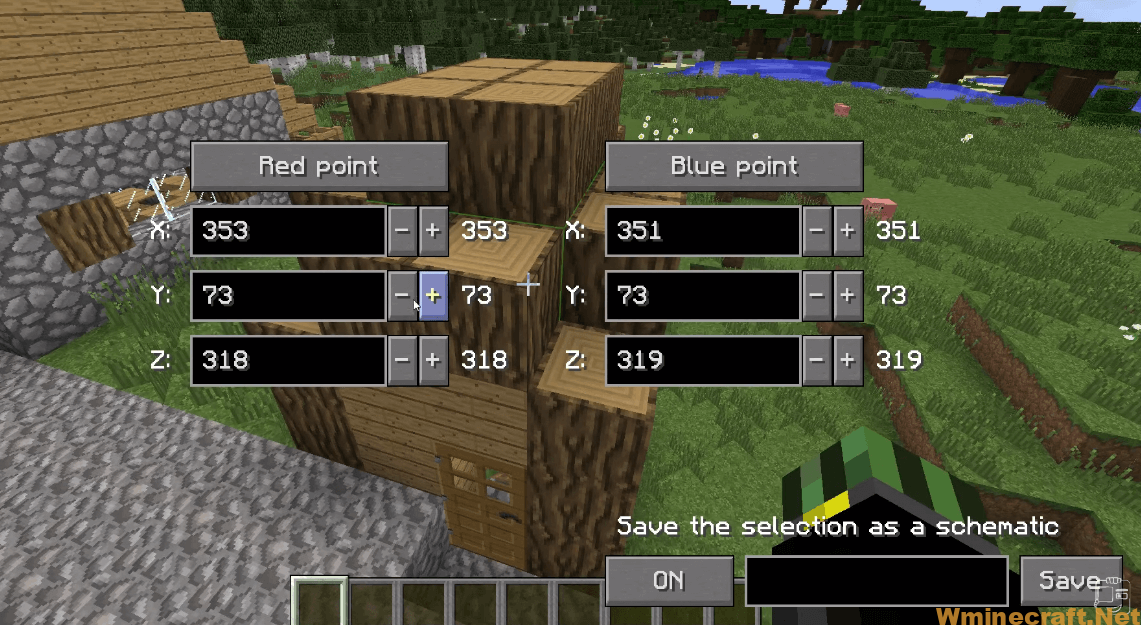
– Export parts of your world into schematic files to share with friends.
– Recreate memories of past worlds, or build on the work of others.
– Share your creative genius with the world.
Commands
/schematicaSave <fromX> <fromY> <fromZ> <toX> <toY> <toZ> <filename>
Saves the region between the fromXYZ and toXYZ points to filename.
/schematicaList [page]
Display a list of all schematics inside the player’s folder.
/schematicaRemove <filename> [hash]
Deletes a schematic from the player’s folder. This is an internal command and you shouldn’t have to use it manually.
/schematicaDownload <filename>
Download a schematic from the remote server. This is a server only command and will not be available in single player.
[client]/schematicaReplace <pattern> <replacement>
Replaces all blocks matching pattern with the replacement block.
pattern and replacement format
<block_name>[<property1>=<value1>,<property2>=<value2>,<property3>=<value3>,...]
The block_name is mandatory for both types, while the properties are optional.
Pattern behavior
The pattern matches all block states of a given block by default. Properties can be used to narrow down the selection to specific block types (blue glass, south facing stairs, …).
Replacement behavior
The replacement selector is actually used to override the default and copied properties. It works as follows:
- Create a block state using the default block state of the specified
block_name. - Copy all properties that the
patternandreplacementblocks have in common (color,axis,directionetc) to the new state. - Override all properties of the new block state using the properties of the
replacementargument.
Examples
# replace dirt with iron blocks
/schematicaReplace dirt iron_block

# replace blue glass with blue hardened clay
/schematicaReplace glass[color=blue] hardened_clay
Controlling a loaded schematic:
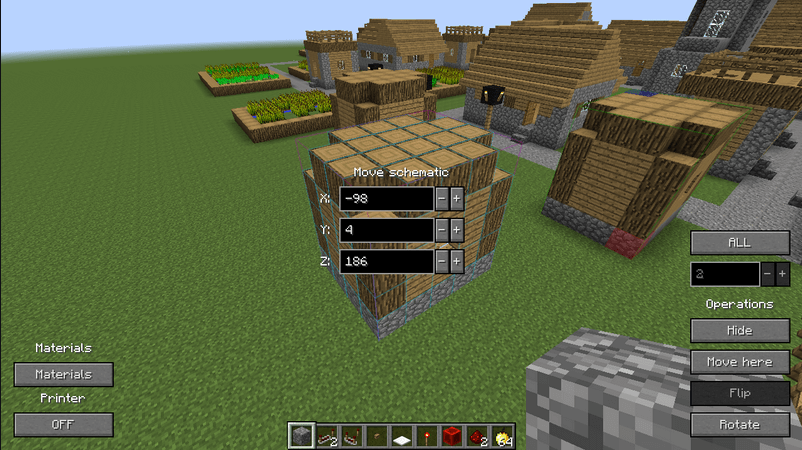
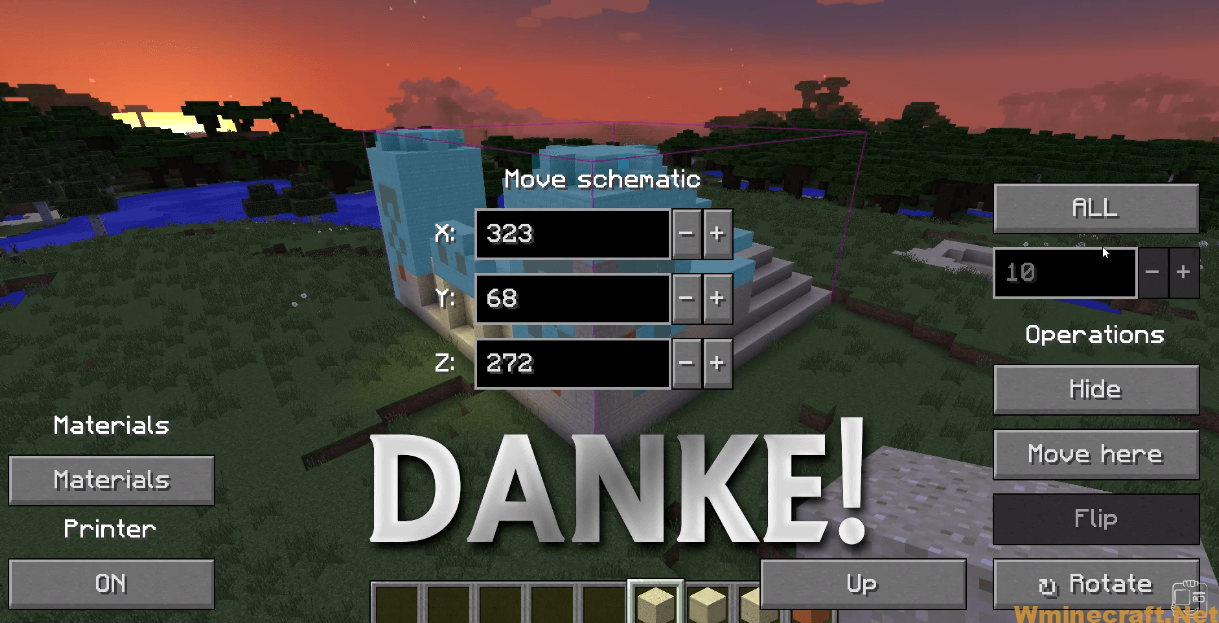
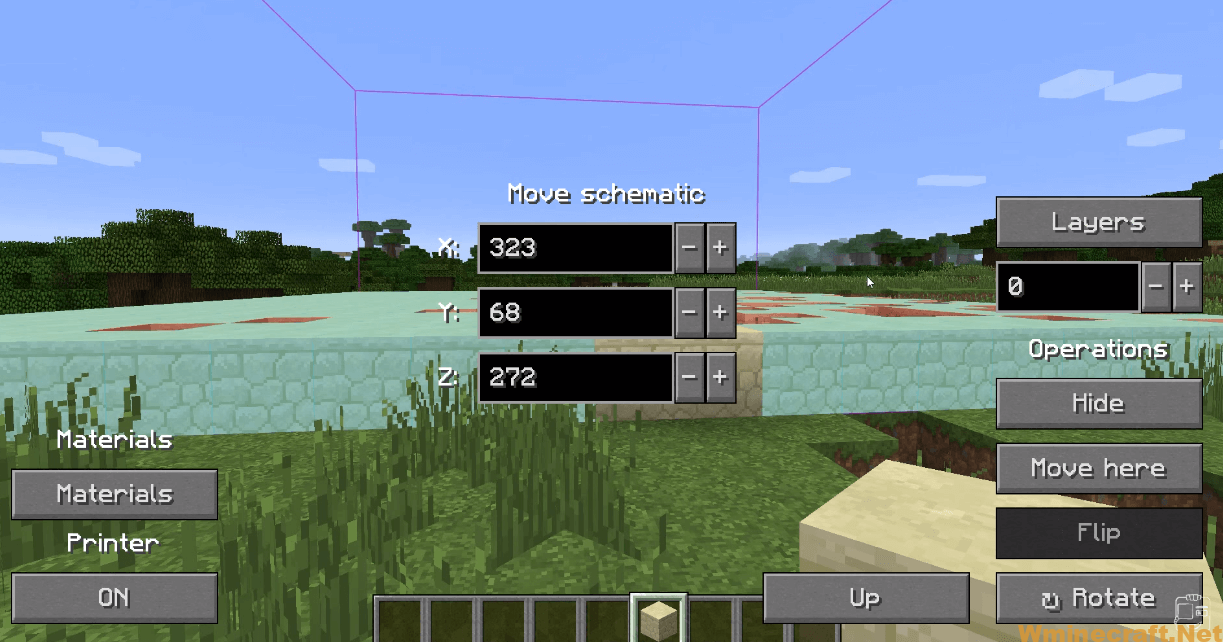
The control GUI has a few things you can control and view.
Moving the schematic
The schematic can be moved with the buttons on the middle of the screen. You can even input the exact coordinates by manually typing them in.
Hiding, moving, rotating
The bottom right corner of the screen allows you to hide/show the schematic and/or move it to your player. The rotation button will rotate the schematic along the Y axis in a clockwise pattern when looking down.
Printer
The printer is currently the only way to place the blocks into the world somewhat automatically. It still requires some player interaction, but the blocks will be automatically placed in a 3 block radius around the player.
Layers
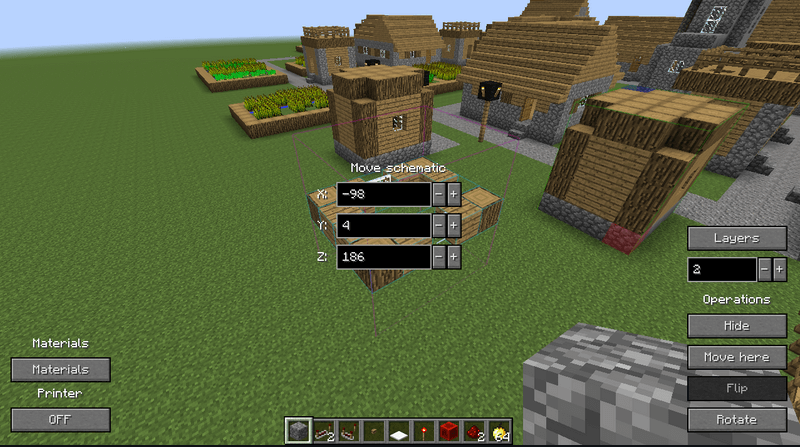
The layer control allows you to switch between layer and complete mode. When in layer mode you can switch the layer using the control just bellow the toggle button or alternatively with key bindings (they are not bound by default!).
Materials
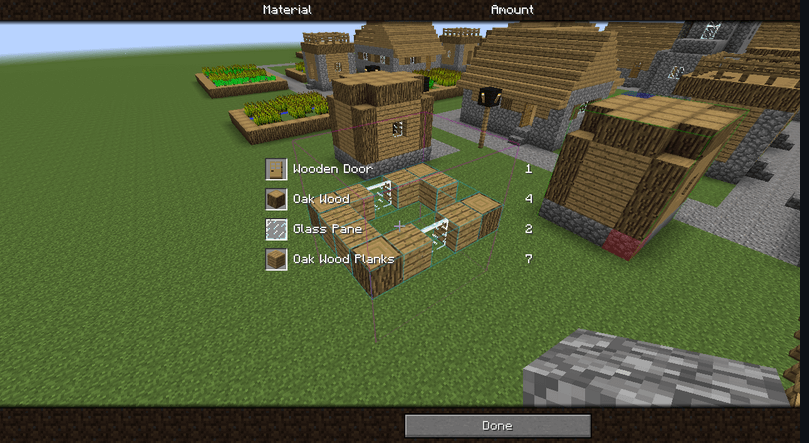
by clicking the Materials button a new GUI will pop up that will show all the required materials to build the currently loaded schematic. If you’re in layer mode only the blocks on the currently selected layer will be displayed.
In 1.8 the ability to sort and export the material list was added. The list is exported into the .minecraft/dumps/ directory.
Schematica Mod Screenshots:
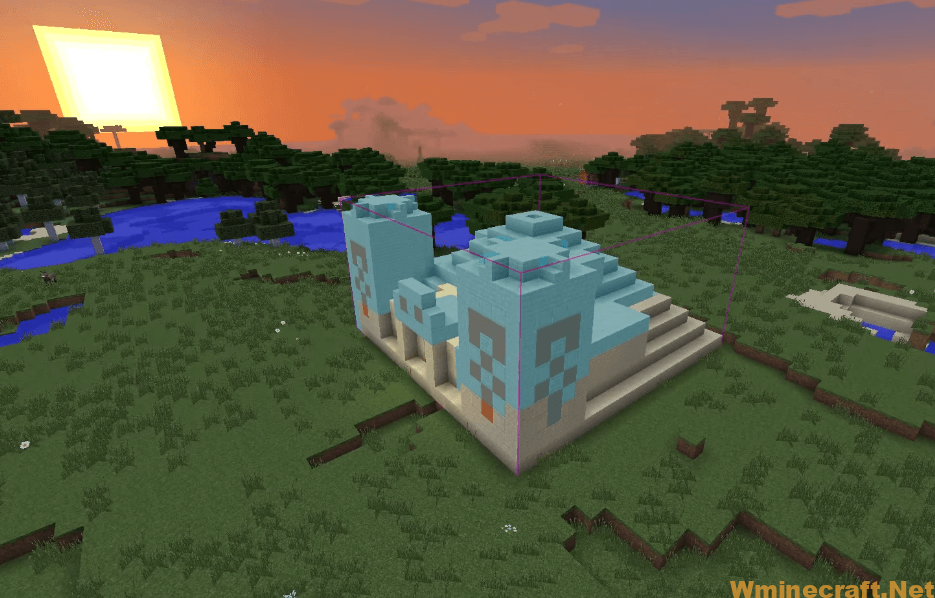
Schematica Mod Download Links:
Minecraft Game version 1.5.2:
Minecraft Game version 1.6.2:
Minecraft Game version 1.6.4:
Minecraft Game version 1.7.2:
Minecraft Game version 1.7.10:
Minecraft Game version 1.8.0:
Minecraft Game version 1.8.9:
Minecraft Game version 1.9.0:
Minecraft Game version 1.9.4:
Minecraft Game version 1.10.2:
Minecraft Game version 1.11.2, 1.11:
Minecraft Game version 1.12:
Minecraft Game version 1.12.1:
Minecraft Game version 1.12.2:

