Table of Contents:
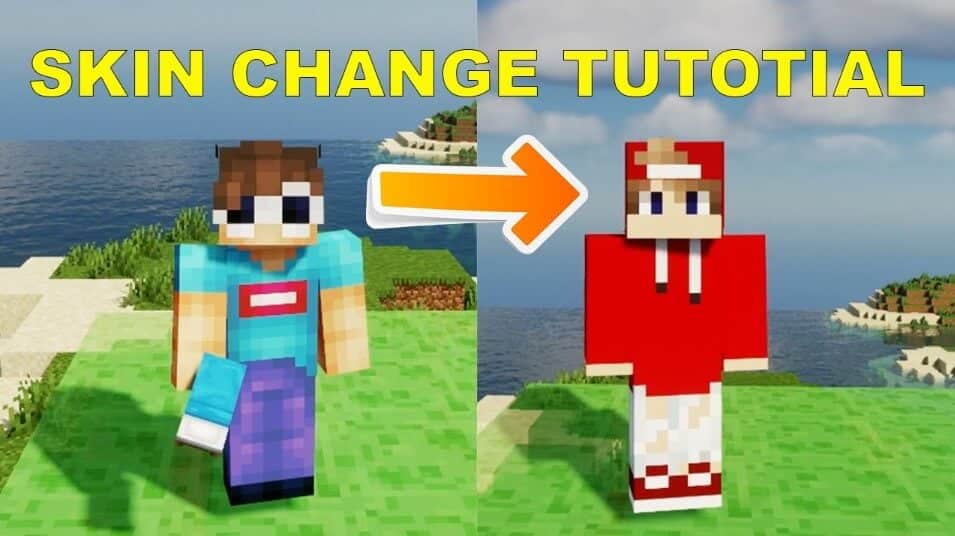
Minecraft is a popular game that allows players to build and explore their own world. There are many different skins available for download, but installing them can be tricky. In this blog post, we will show you how to install Minecraft skins using the TLauncher skin manager. We will also provide tips and tricks for finding the best skins for your needs!
Mods are the perfect way to customize your Minecraft experience. With so many mods available, you can make changes and modifications in game settings that will tailor it just for YOU!
That’s why I recommend using TLauncher – It takes care of everything else while letting players take charge by installing their favorite addons or replacing skins with custom ones created exclusively for them at home base stuff like texture packs without ever having leave what’s called “The Palace” – where all major actions occur during gameplay
Instructions for installing skins for Minecraft
Of course, you need the assistance of third-party software, and TLauncher is a solid recommendation that is worthwhile of a try.
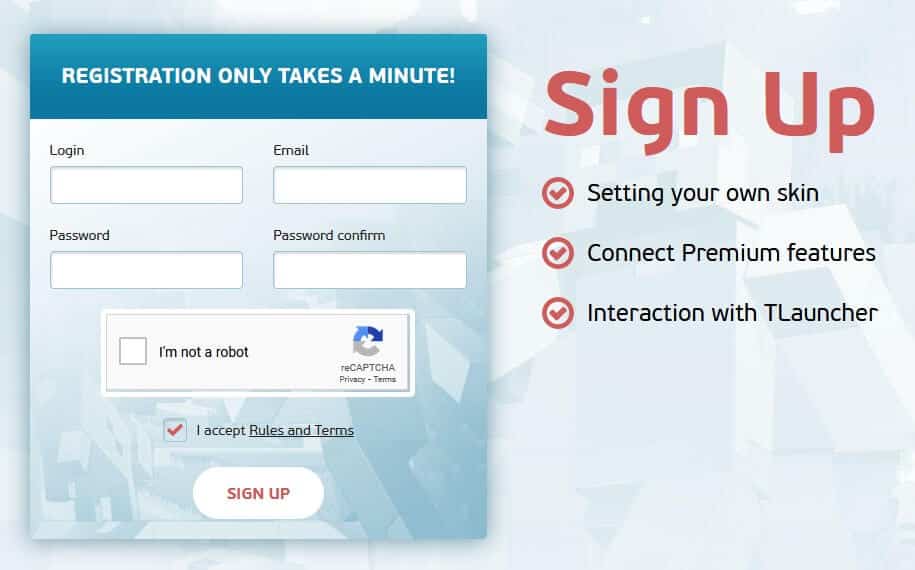
Visit https://tlauncher.org/en/reg/ Always-on to access the TLauncher (TL) registration page and fill out the relevant fields with the necessary data.
Once your registration has been successful, you will be on your own profile page. Installing Minecraft skins is done here.
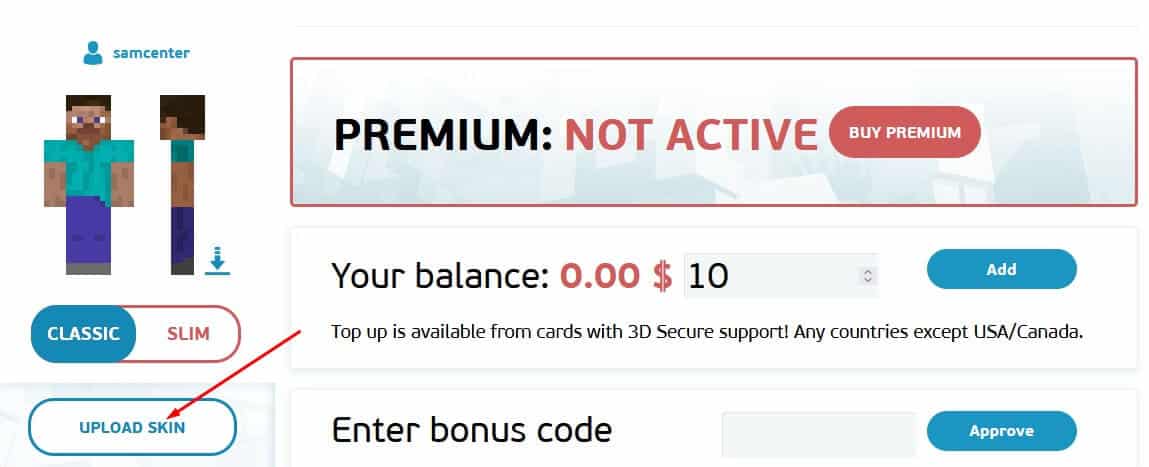
On your PC, click Upload and select the skin of your choosing. Use 64×32 size instead. Additionally, TLauncher’s library of gorgeous Minecraft skins is available for you to select from.
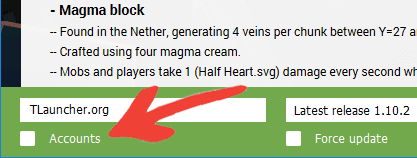
Open your downloaded favorite TLauncher, then install the box next to Accounts. If you don’t already have one, click the Accounts tab to create one, then click the Manage button to access the login page.
Enter your username, email address, and password on this page to login. The Save button is immediately activated again.
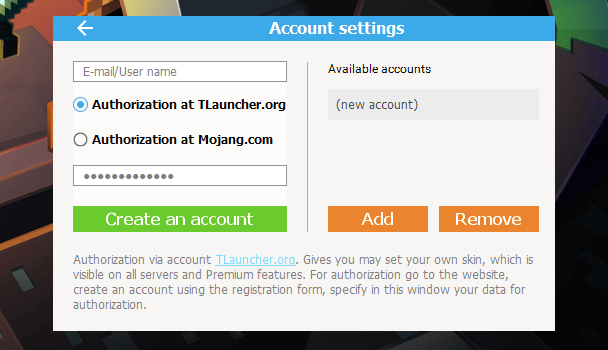
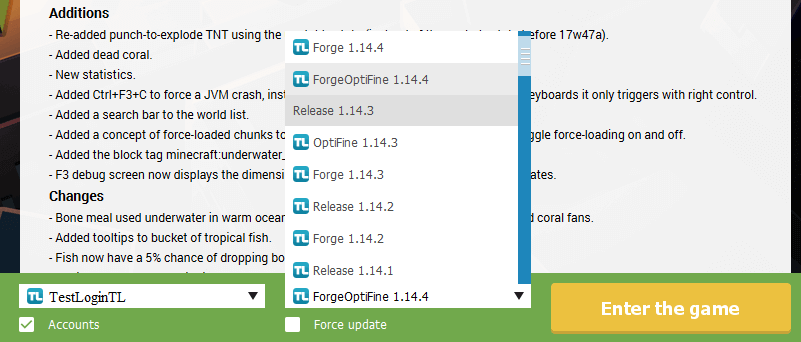
If the authorisation is successful, the username and TL symbol will appear on the launcher’s home page. Now select any version that has the TL icon (indicating it supports the skin system) from the list and launch it. Your skin will be in the Minecraft game.
Install Minecraft HD skins
What do Minecraft HD Skins do? It is a skin with a high resolution (more pixels than the standard version). For instance, whereas HD skins can be up to 1024×512, the default skin size is 64×32.
The skin image will be sharper with such a resolution. This skin can be made remarkable by the addition of numerous little features.
It is important to note that only TLauncher Premium users have access to the HD skin. Check the status of your account after registering for this service. If everything went according to plan, you can now immediately install the Minecraft HD skin.
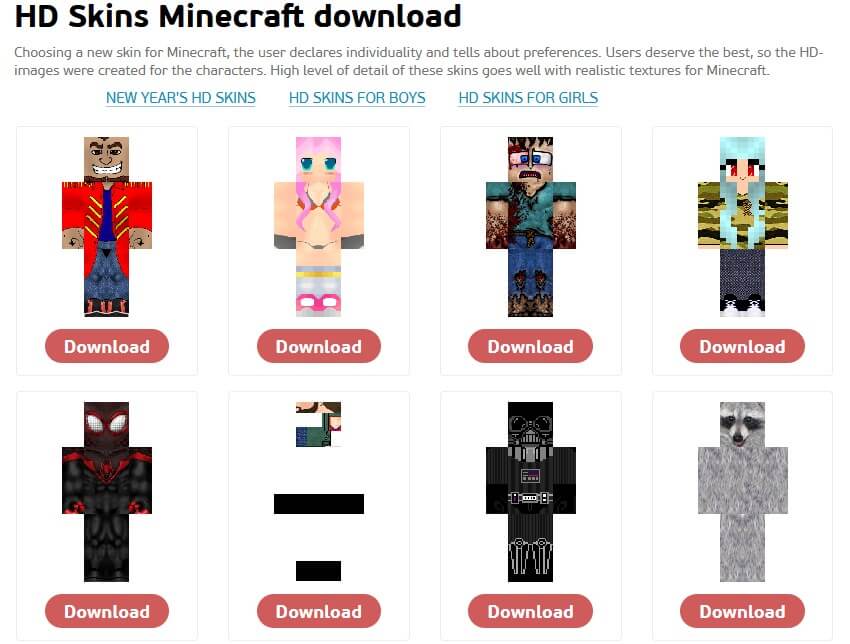
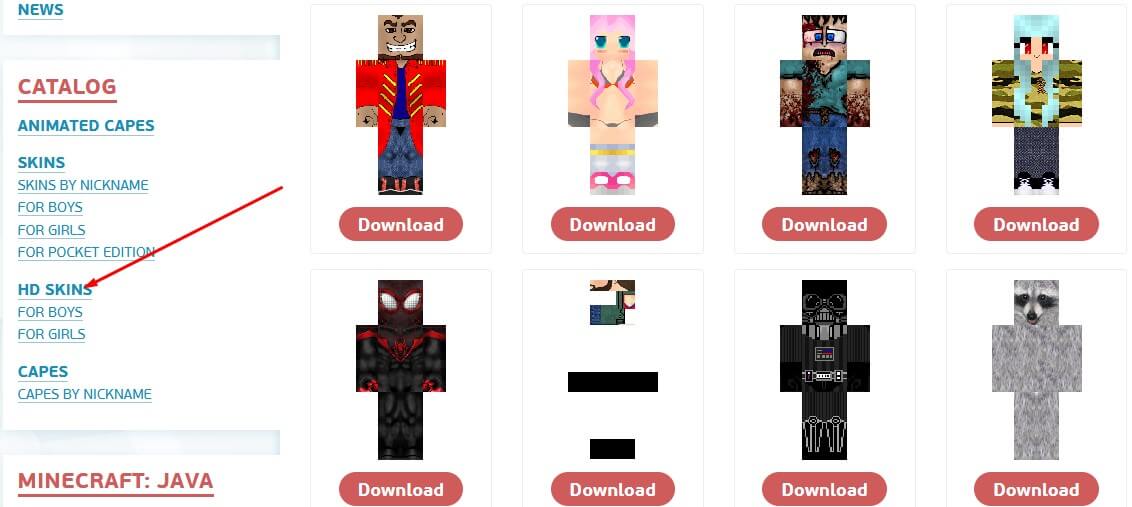
Discover Minecraft HD skins online or by browsing TLauncher’s catalog. Choose your favorite Minecraft skin by selecting the HD skins tab. Click the Install button after that.
Refresh your skin now. then visit Minecraft and have a peek at the appearance of the character you are now controlling there!
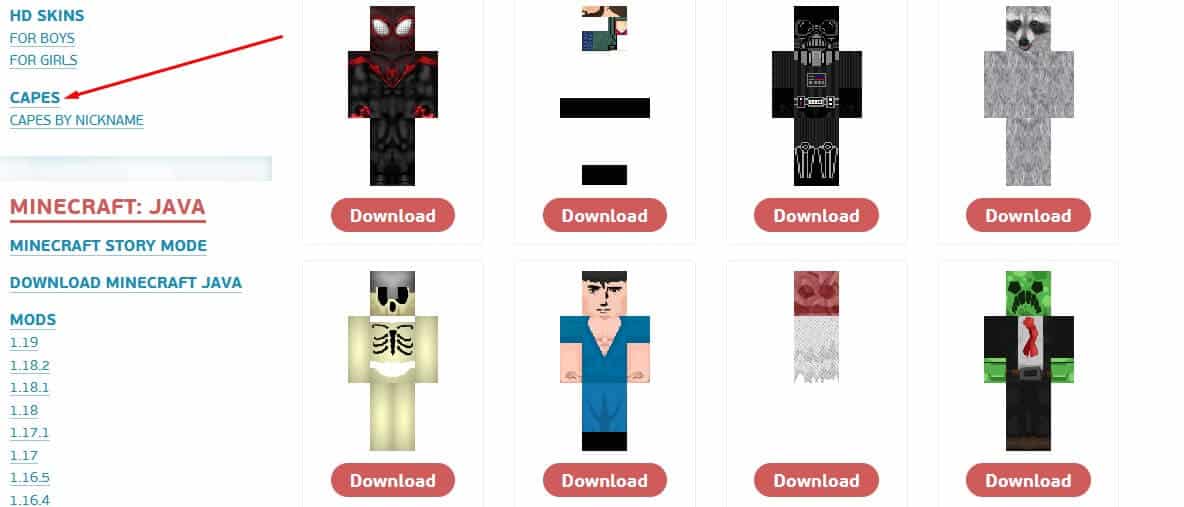
How to set cape skin in Minecraft with TLauncher
You need a Premium account in order to have a cape in Minecraft. Sign up if you don’t already have one. Currently, you can utilize the Upload a cape button if you have a Premium account. Select an image file of a gown from your computer by clicking on it. Use 64×32 sizes wherever possible so they will appear properly. If you don’t have a picture, you can use one of the robe designs in TLauncher as a guide.
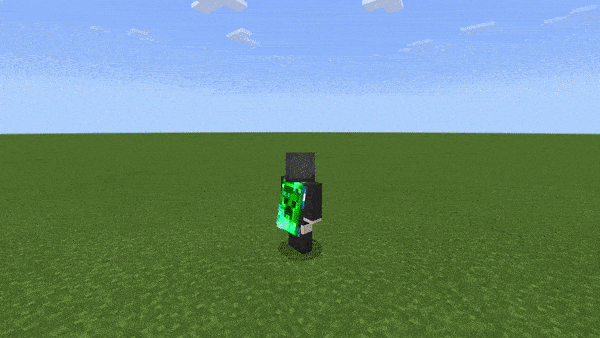
Your character’s profile will display the cape whenever you upload it or install it from the directory. The installation of the cape skin for Minecraft was successful. Now that TLauncher is available, you may immediately start playing with the new skin.
How to set dynamic cloak skin in Minecraft
- You need to register or log in to an account on the TLauncher.org web site.
- Go to the dynamic cloak category and select your favorite, specify the desired duration.
- Buy a cape and go to your account profile. Click Animation capes > Install cape on the new cape you want to use.
- Open TLauncher and log in to your account, select the Minecraft game version that supports dynamic cloaks, for example Vanilla 1.18.1. Enter the game and you will be able to use this skin for the character.
Request
TLauncher 2.61 or higher.
Game version that supports the use of dynamic cloaks:
Forge: 1.18.2, 1.18.1, 1.18, 1.17.1, 1.16.5, 1.16.4, 1.16.3, 1.16.2, 1.16.1, 1.15.2, 1.15.1, 1.15, 1.14.4, 1.14.3, 1.14.2, 1.13.2, 1.12.2, 1.12.1, 1.12, 1.11.2, 1.11, 1.10.2, 1.10, 1.9.4, 1.9, 1.8.9, 1.8.8, 1.8, 1.7.10+ all mod packs in this version.
ForgeOptifine: 1.18.2, 1.18.1, 1.18, 1.17.1, 1.16.5, 1.16.4, 1.16.3, 1.16.2, 1.16.1, 1.15.2, 1.14.4, 1.12.2, 1.12. 1, 1.12, 1.11.2, 1.11, 1.10.2, 1.10, 1.9.4, 1.9, 1.8.9, 1.8.8, 1.8, 1.7.10.
Vanilla: 1.18.2, 1.18.1, 1.17.1, 1.16.5, 1.16.4, 1.16.3, 1.16.2, 1.16.1, 1.16, 1.15.2, 1.15.1, 1.15, 1.14.4, 1.14.3, 1.14.2, 1.14.1, 1.14, 1.13.2, 1.13.1, 1.13, 1.12.2, 1.8.9, 1.8.
Vanilla Optifine: 1.18.2, 1.18.1, 1.17.1, 1.16.5, 1.16.4, 1.16.3, 1.16.2, 1.16.1, 1.15.2, 1.14.4, 1.14.3, 1.14.2 , 1.14.1, 1.14, 1.13.2, 1.13.1, 1.13, 1.12.2, 1.8.9, 1.8
Fabric: 1.18.2, 1.18.1, 1.17.1, 1.16.5.
There are many different ways to include Minecraft skins into the game. Here’s a guide on how to set up Minecraft skins. I hope you find this post to be beneficial.


