Table of Contents:
Our list of shaders dedicated to Minecraft is already very long; why then present you the Ymir Graphics Shader? Quite simply, because it stands out from other shaders by the composition of its developers, they are indeed 2 shader creators who have joined forces to create the best shader there is.
You certainly already know the first developer, RRe36, which has already illustrated himself with the shaders Nostalgia, Simplicissimus, Vanilla Plus, Kappa, and UShader second, Lee, I could not find anything concerning him. The 2 developers explain having had a completely” “by chance and unexpected” idea to joining forces to collaborate on a shader project. They immediately started working and saw the possible result in their work could lead to. It was only later that a third developer, Niemand, has been accepted into the team. It is in charge of checking and validating the conformity of the shader so that all Minecraft players can use it.
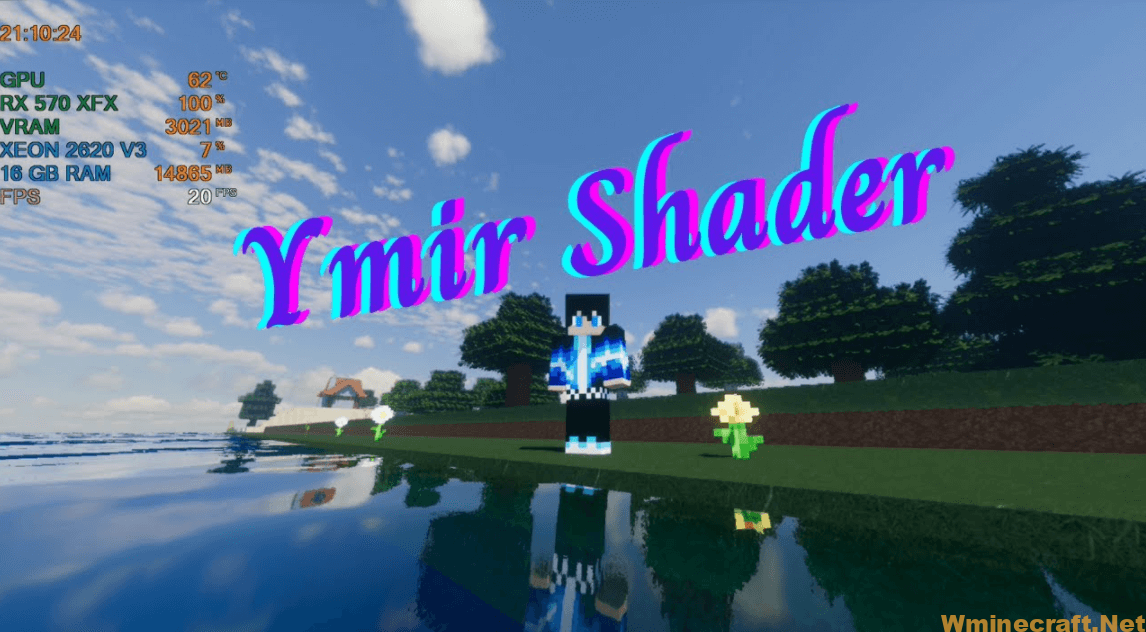
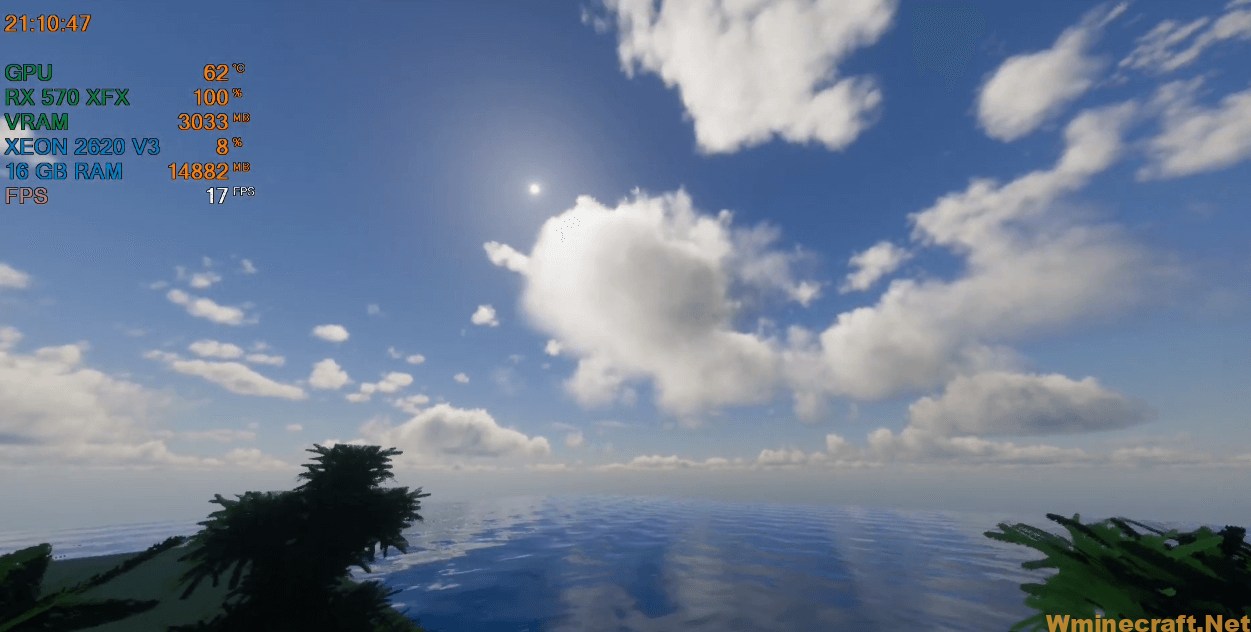
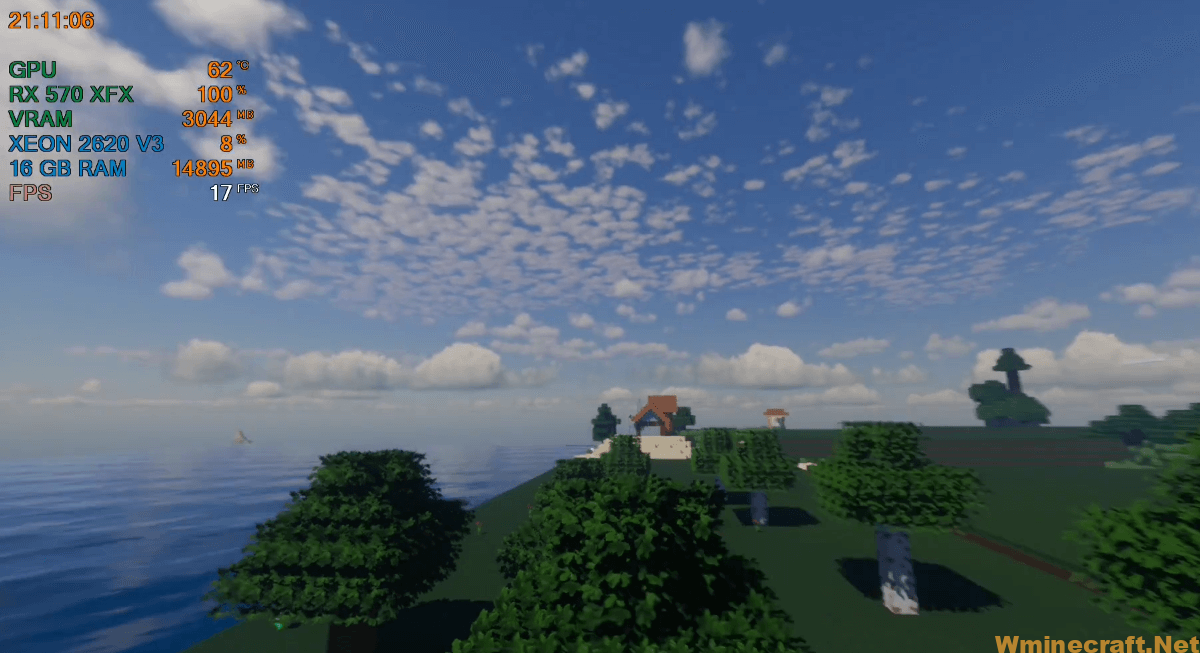
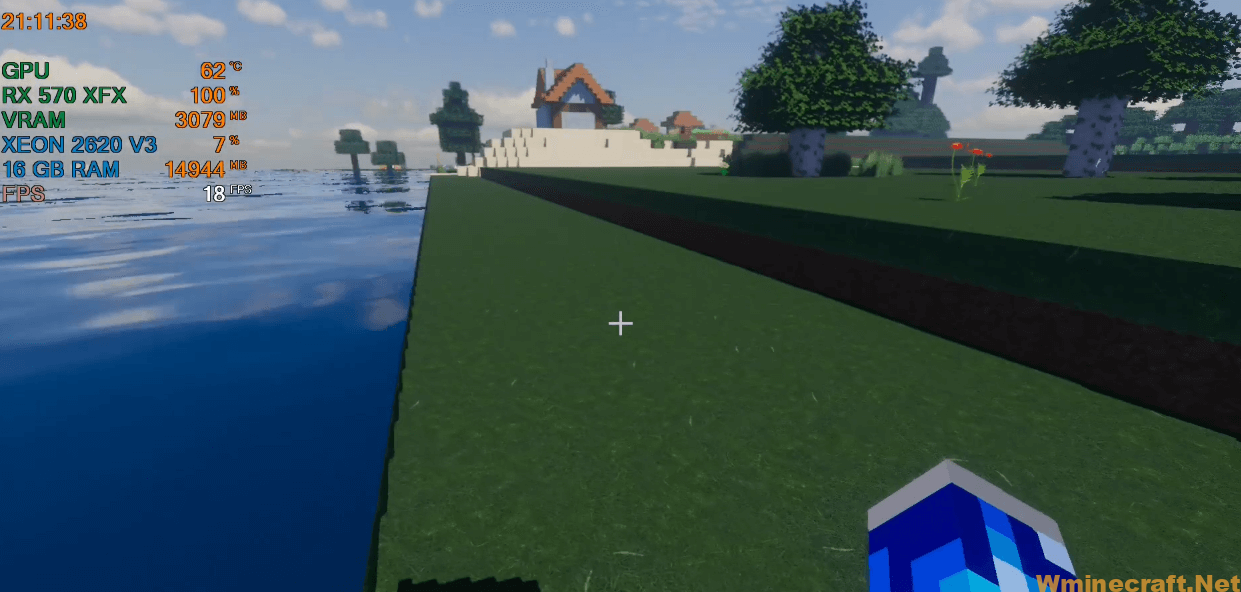
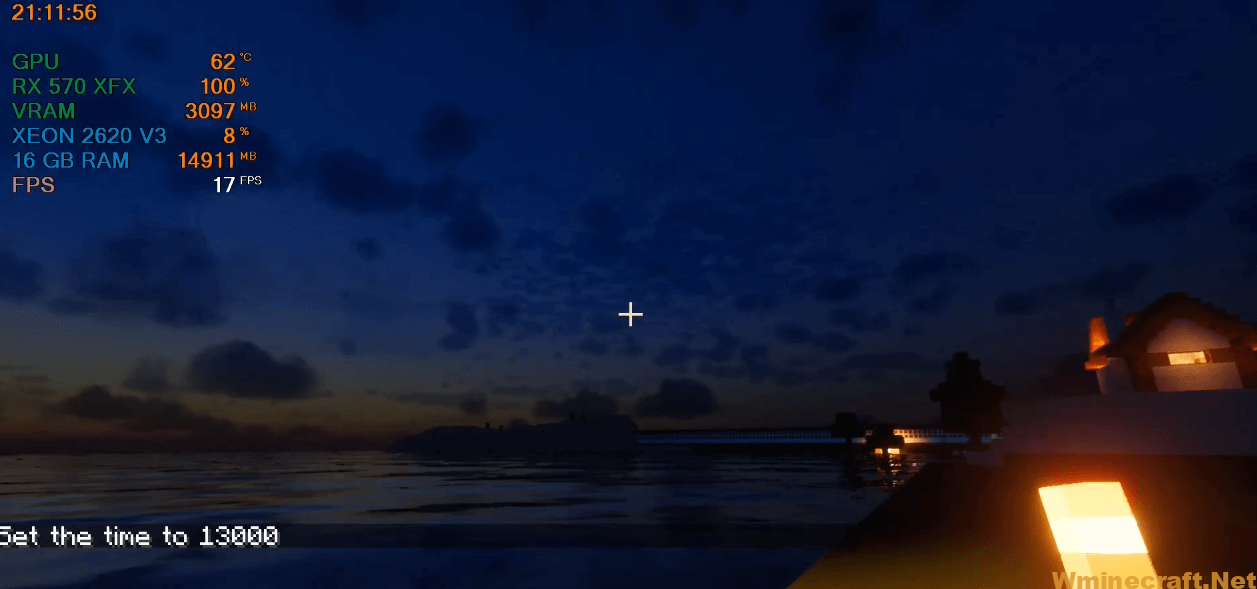
There is not much more to say about this shader other than to rehash what you can already read on the articles dedicated to shaders here or on other sites:” a dazzling shader offering a gaming experience magnificent and making Minecraft more natural and beautiful.” Do we agree that the illustrations are more than the seen and reviewed blah that will make you choose your shader? With that, let’s move on to the Ymir Graphic images.
How to install a shader on Minecraft?
Install a Minecraft shader:
- Open your .minecraft folder
Windows : Simultaneously press the Windows and R keys then type % appdata%
Mac OS : Simultaneously press the SHIFT + COMMAND + G keys
then type / Users / YOURUSERNAME / Library / Application Support / Minecraft - Find and open the .shaderpacks folder
It is located at the root of the .minecraft folder if you have installed Optifine beforehand. If you can’t find it, check your Optifine installation.
- Drag the previously downloaded archive
The shader archive is usually in .zip format, move it to the .shaderpacks folder
- Launch Minecraft with the Optifine profile
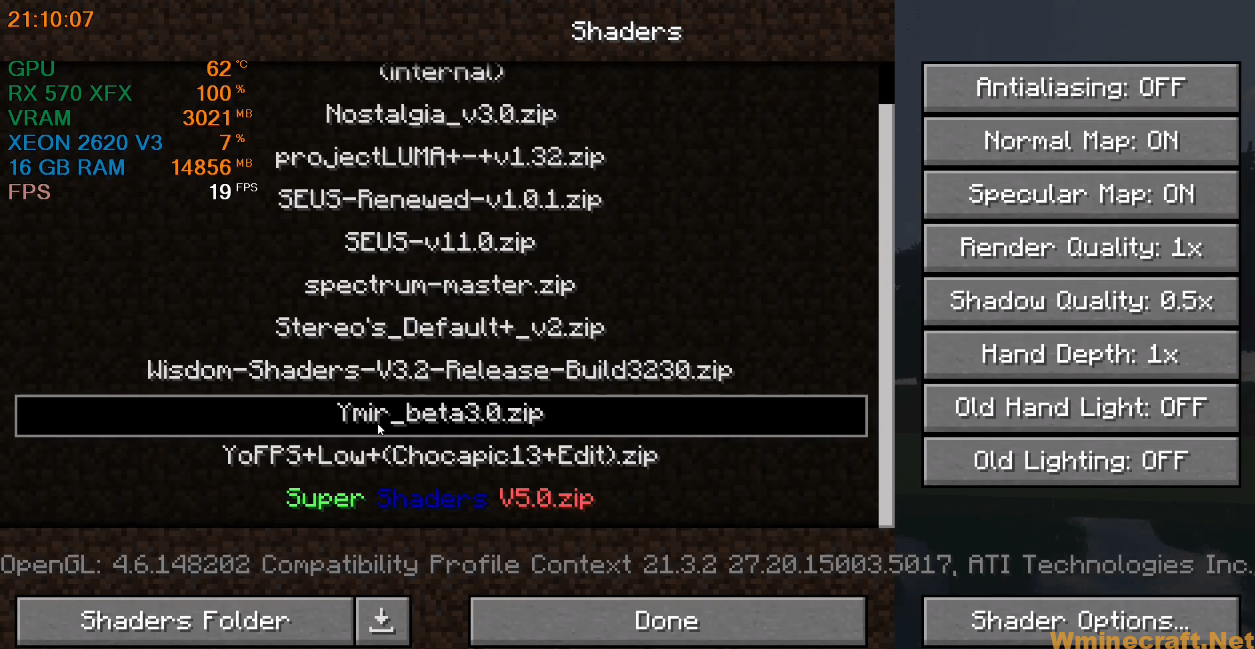
- Go to “video settings” then to “Shaders”
- Select the shader pack you want to use from the list
If you’ve imported multiple shaders, they’ll all be in this list.
- Disable “Fast rendering” in “Graphics options” then “Performance”
A necessary step in order not to have the error message “Shaders are not compatible with fast rendering”.
Changelog
- exposed lots of new settings
- added user-friendly labels for various settings
- improved and optimized volumetric clouds
- cirrus clouds are now semi-planar by default
- fixed potentially missing cloud reflections
- adjustments to ambient occlusion
- improved global illumination
- improved filtering and accumulation
- reworked light falloff
- various optimizations
- improved image based lighting
- added lava fogging
- added cloud shadows
- fixed labPBR ambient occlusion
- added various new block mappings
- includes many new foliage blocks
- fixed handheld translucents
- adjustments to tonemap and exposure
- added customizable foliage wind effects
- lots of internal optimization and code refactoring
- fixed broken roughness decoding when using labPBR
- adjusted atmosphere
- adjusted indirect lighting
- adjusted hardcoded materials
- adjusted bloom intensity
- improved volumetric fog
- added weather support
- adjusted atmosphere related dynamics
- improved color grading behavior
- added optional vignette
- fixed various rendering issues when using labPBR
Ymir Graphics Shader Screenshots:
Ymir Graphics Shader Download Links:
[Ymir Graphic Shader [All versions of Minecraft]
How To Download and Install Minecraft Forge (Modding API)?
Minecraft Forge is a free, open-source server that allows players to install and run Minecraft mods. 4 steps to install forge for windows, mac, Linux
1. Download Minecraft Forge at the website, select the version of Minecraft you want to run, then download the installer using your browser.
2. Open the .jar file you just downloaded (Run installer as Administrator), make sure Java is installed on your operating system
3. Select Install Client or Install Server if you want to install for your server, and click OK. Wait about 2 minutes, and you will see a success message.

4. Launch Minecraft and select the Forge profile, then click Play.
5. You will see Minecraft Forge in the lower-left corner and the Mods button under Multiplayer.

Congratulations on successfully installing Minecraft Forge and experimenting with Ymir Graphics Shader for Minecraft downloaded.
If there are errors, please comment on this article.