Table of Contents:
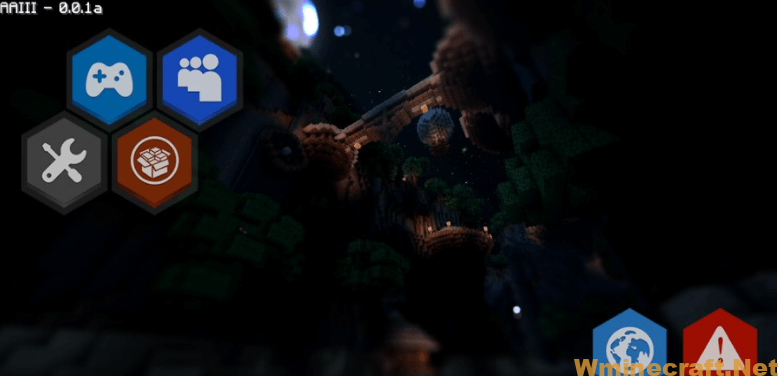
Custom Main Menu Mod is a mod for Minecraft that allows you to edit the main menu using json files. Custom Main Menu Mod allows you to add or remove elements like buttons and labels and also adds some new stuff that you can add to your menu like slideshows or whole custom guis. Custom Main Menu Mod comes with a json file that replicates the vanilla menu where you can easily change simple things like text. Custom Main Menu Mod is an easy way to customize your Minecraft experience!
Relative Post:
Tinkers’ Construct Mod 1.16.5-1.12.2-1.11.2 (Weapon build, Repair and customize tools)
Custom NPCs Mod 1.16.3-1.15.2-1.12.2-1.7.10 for Minecraft
iPixeli’s Gender Mod 1.16.5 -> 1.15.2 – Change the gender of the character
How to install Download Custom Main Menu Mods 1.12.2 for Minecraft?
Follows 5 Steps below to install Download Custom Main Menu Mods 1.12.2 for Minecraft on Windows and Mac :
1. Download and install Minecraft Forge, you can read the instructions below the article.
2. Download the Download Custom Main Menu Mods 1.12.2 for Minecraft.
3. Open the . minecraft folder and then enter the mods folder. Important: Some older versions of Forge may not have the ‘Open Mods Folder’ button. If this is the case, create the directory under the name mods.
Windows:
Press the Windows key +R at the same time
Type %appdata% and press enter
Find folder Minecraft and then look for the Mods folder within that
Mac:
Click on the desktop and then press Command+Shift+G all at the same time
Type ~/Library and press enter
Open the folder Application Support and then Minecraft.
4. From here, drag in the mods file downloaded (.jar or .zip) you wish to add.
5. Run Minecraft, and you should now see the new mod installed in the list!
Enjoy Download Custom Main Menu Mods 1.12.2 for Minecraft, If there is an error, please comment on this article we will support
Reporting Issues
Before creating an issue on github make sure that:
Your json file is actually valid json (Run it through an online json checker)
All your resource locations (For example paths to images) are completely lower case (In the json file and your file system)
You aren’t missing any properties / sections that aren’t optional.
That your property names are 100% correct
If you get missing textures create a folder called debug in your resources folder. That will cause Resource Loader to print a line to the debug log whenever it can’t find a file minecraft requested. (Debug log can be found in fml-client-latest.log). Make sure the file path is 100% correct (On Windows you can try to “run” it using Win + R)
Useful Tools
- Textcraft: Websites to generate “logo” type text stuff.
- Minotar: Simple way to get a players skin / head / whatever through an url. Can for example be used together with “web:” to get the avatar of the user as an image.
Custom Main Menu Mods 1.12.2 Screenshots:
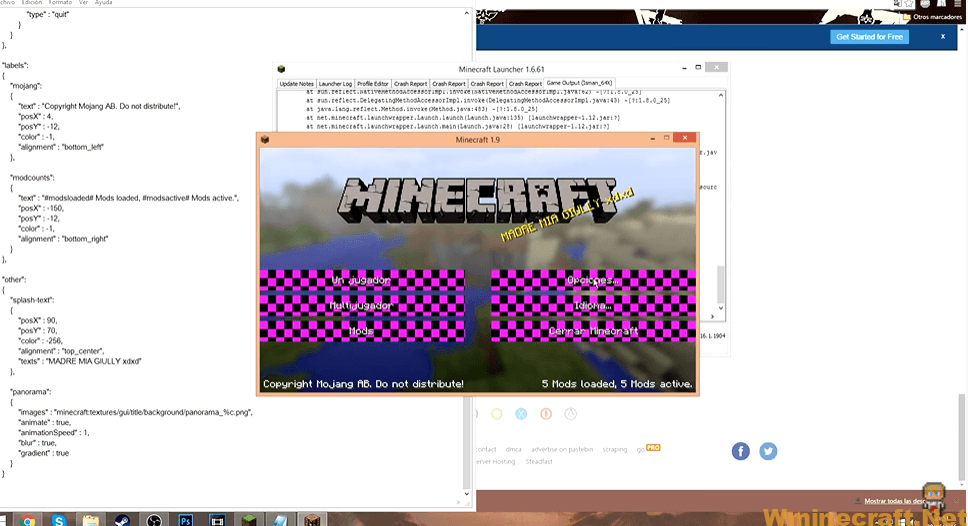

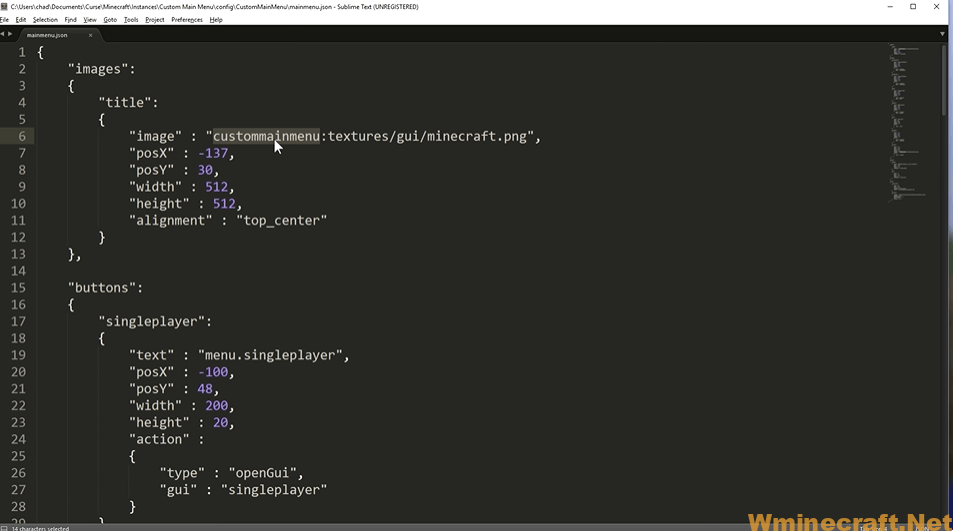
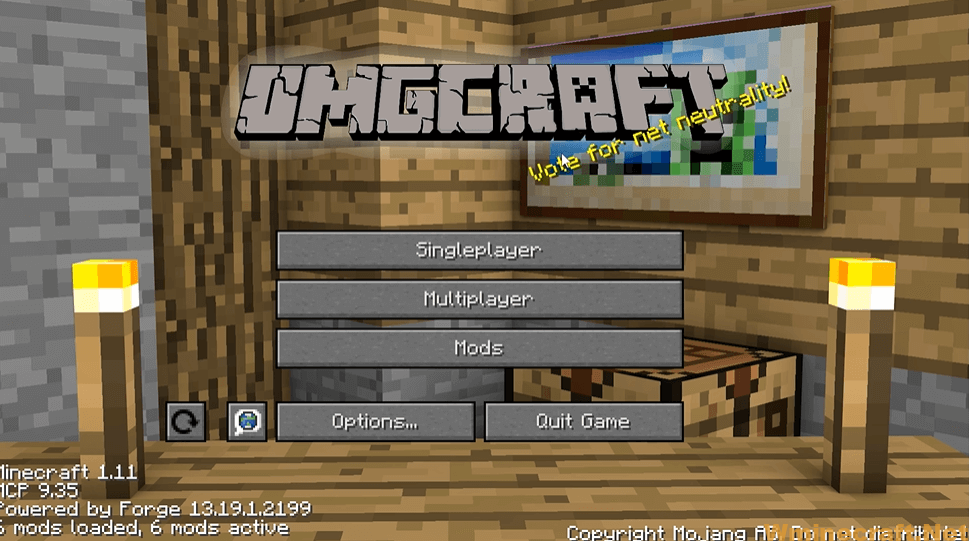

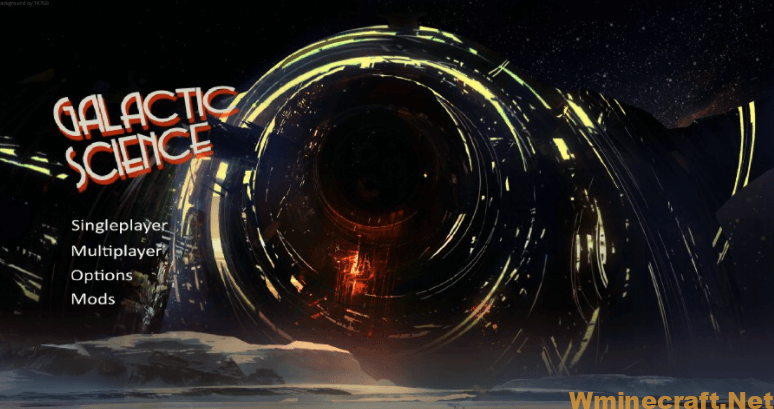
Custom Main Menu Mods 1.12.2 Download Links:
Minecraft Game version 1.7.10:![]()
How To Download and Install Minecraft Forge (Modding API)?
Minecraft Forge is a free, open-source server that allows players to install and run Minecraft mods. 4 steps to install forge for windows, mac, Linux
1. Download Minecraft Forge at the website, select the version of Minecraft you want to run, then download the installer using your browser.
2. Open the .jar file you just downloaded (Run installer as Administrator), make sure Java is installed on your operating system
3. Select Install Client or Install Server if you want to install for your server, and click OK. Wait about 2 minutes, and you will see a success message.

4. Launch Minecraft and select the Forge profile, then click Play.
5. You will see Minecraft Forge in the lower-left corner and the Mods button under Multiplayer.

Congratulations on successfully installing Minecraft Forge and experimenting with Custom Main Menu Mods 1.12.2 for Minecraft downloaded.
If there are errors, please comment on this article.

