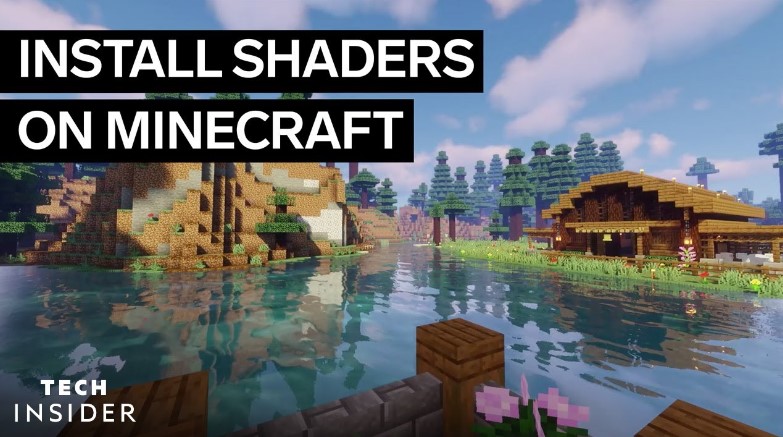
You’ll need to put in a little preparation work before you start adding shaders, just like with any other Minecraft mod. Forge is a mod manager you may use to install the majority of mods for Minecraft, but you should use Optifine to install shaders and texture packs. By itself, Optifine brings several useful improvements to Minecraft, such as a faster frame rate, but it is also necessary for shaders to function. You can use Optifine with or without Forge.

Of course, not every shader is equally capable of the job, so we’ve chosen a few of our favorites to get things going. You could find some shaders to be unappealing because they are just aesthetic changes, but they are all guaranteed to make Minecraft look like more than just a common arrangement of blocks.
What you need know before installing Minecraft shaders is as follows:
Step 1: Visit the official website of Optifine and download the most recent version before installing it.
Run the installer in step 2 to update the Minecraft Launcher with the latest version of the game.
Step 3: Launch the updated version of Optifine Minecraft to start using any shaders that have been installed.
Step 4: It’s simple to install shaders by:
selecting your favorite source and downloading a shader.
Drag the installed file to your Minecraft installation’s Shaderpacks folder. This can be accessed by clicking Video settings > Shaders > Shaders folder in the Options section of your Optifine version of Minecraft.
You can move forward as soon as the shader is put there.


