Table of Contents:
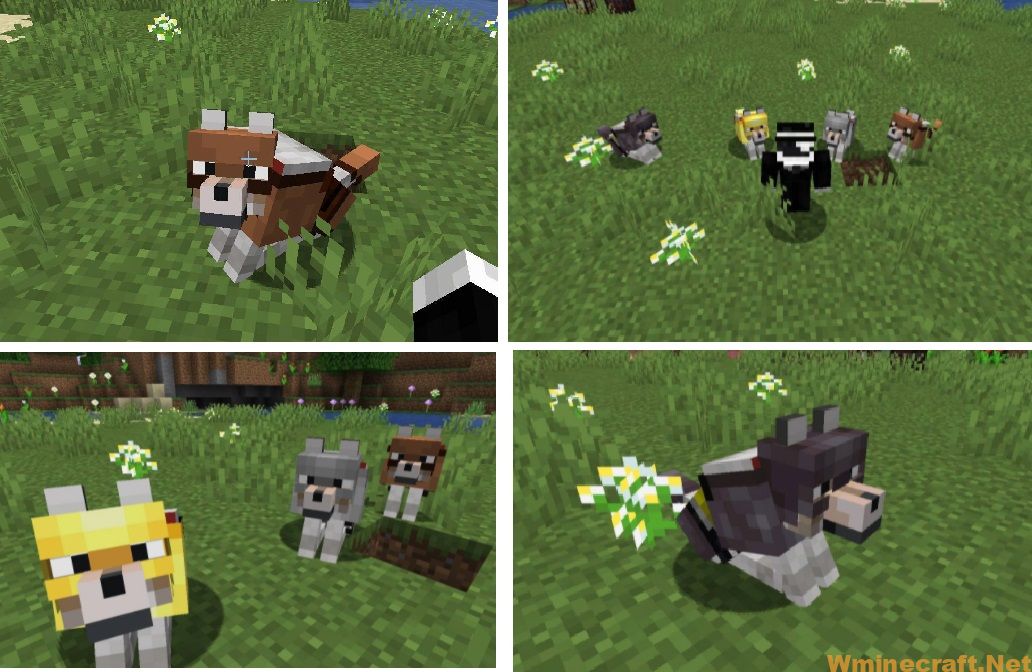
Wolves With Armor is a mod that will allow us to have our wolves protected against enemy attacks, adding extra protection through the use of armor. These armors will offer our wolves similar protection to that offered by horse armors.
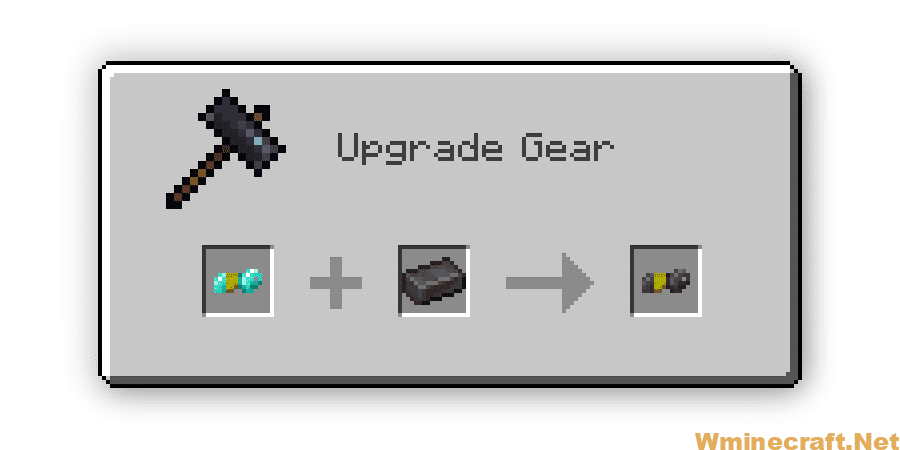
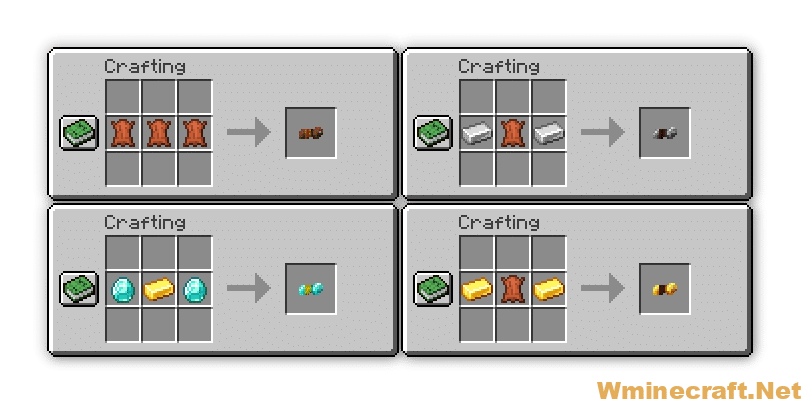
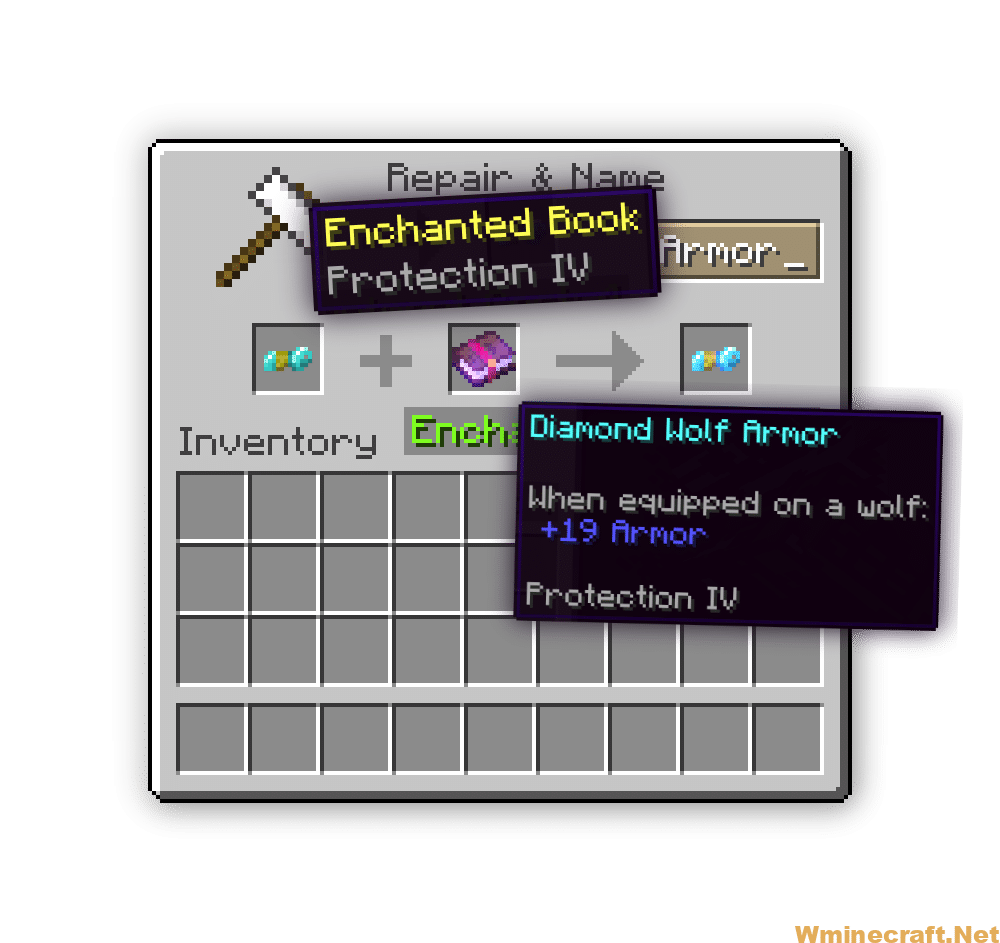
Like the armor for our character, we can make the leather, iron, gold, diamond, and nephrite armor, but for our wolves. In the same way that we enchant armor pieces for our character, we can also do it with armor for our wolves. It is a mod for Fabric that adds several new wolf-related utilities, including Wolf Armor, and several other things to come.

Wolves With Armor Mod Features:
Wolf Armor:
Wolf Armor gives the same protection as Horse Armor. You click on a Wolf while holding Wolf Armor to equip it.
How to install Wolves With Armor Mod for Minecraft?
Requires:
Fabric Modloader (or Forge Modloader)
Follows 9 Steps below to install Wolves With Armor Mod on Windows and Mac :
- Download and Install Minecraft Launcher Vanilla.
- Download and Install Fabric Installer for Vanilla Launcher.
- Run recently downloaded .jar file, choose the version you want and press “Install.”
- Run Minecraft, select the profile with Fabric installed and press Play.
- Press Start on Desktop.
- Choose Run.
- Type %appdata% onto Run and press Enter.
- Goes into Roaming/.minecraft/mods
- Put the jar. Files onto the mod folder and run Minecraft.
Enjoy Mod , If there is an error, please comment on this article we will support.
Download Wolves With Armor Mod for Minecraft [1.15.2->1.17]
For Minecraft 1.15.2 Fabric version:
For Minecraft 1.16.1 Fabric version:
For Minecraft 1.16.2 Fabric version:
For Minecraft 1.16.4 Fabric version:
For Minecraft 1.16.5 Fabric version:
For Minecraft 1.17 Fabric version:
How to install Fabric Mods on your PC
This guide explains how to install mods onto your Fabric client. Fabric, like Forge, is a version of Minecraft that allows for mods to be run on both the server and client. For clients, Fabric offers many mods such as minimaps, HUD improvements, OptiFine integrations, and more.
To install Fabric mods onto your game, you’ll need to have Fabric installed onto your client. You can view our tutorial on how to install Fabric for your client here: How to install Fabric on your PC
- Download any mods you want to install onto your client. You can find Fabric mods on any sort of mod website, such as CurseForge. For this example, we’ll be installing Hwyla.
- Note that a large number of Fabric mods, including Hwyla, require the Fabric API; You can download the Fabric API :
- Once the mods have been downloaded, navigate to your Minecraft install folder. This varies per operating system and install, but should look something like this depending on your platform:
-
- Windows:
%AppData%/.minecraftorC:/Users/(username)/AppData/Roaming/.minecraft - MacOS:
~/Library/Application Support/minecraft - Linux:
~/.minecraft
- Windows:
-
- Open the
modsfolder in your Minecraft install folder. If there isn’t amodsfolder there, you can create it. - Move the mod JAR files that you downloaded into the
modsfolder in your Minecraft install folder. - After moving all the files, open the Minecraft Launcher and start the game using your Fabric profile.