Table of Contents:
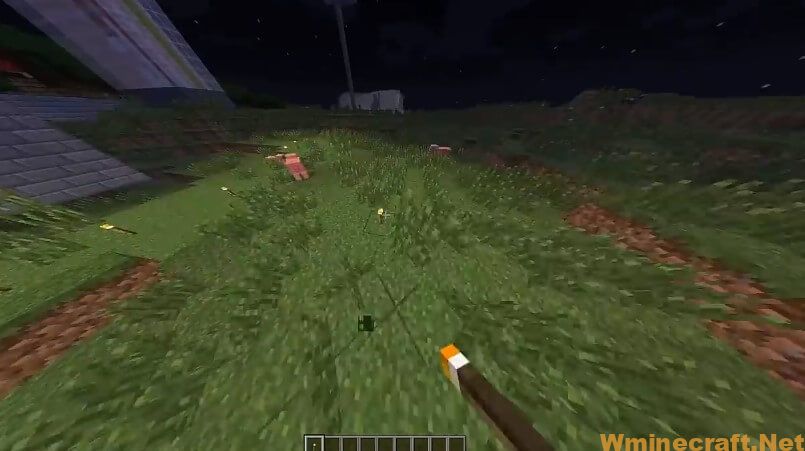
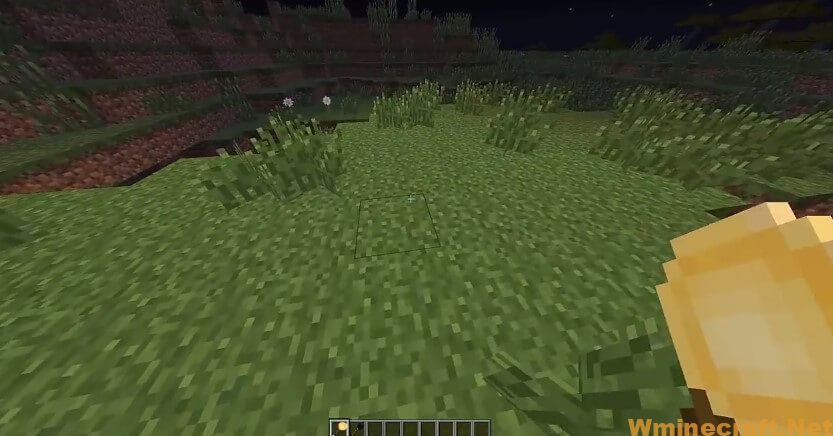
The InvisibLights Mod for Minecraft 1.18, 1.17.1 is a mod that allows you to place light sources that are invisible. You won’t even notice they are there! Most Minecraft players have already stumbled over this problem: keeping something well-lit requires an extraordinary large amount of Torches or other light sources. The result is a scene jammed with those; you probably know that you need a lot of Torches to keep your house well-lit. You could also use Glowstone but it’s very bulky and doesn’t look great either! InvisibLights Mod solves both these problems by allowing the player to create invisible lights in any shape or size without occupying space on the map,

How to install Download InvisibLights Mod for Minecraft?
Follows 5 Steps below to install Download InvisibLights Mod for Minecraft on Windows and Mac :
1. Download and install Minecraft Forge, you can read the instructions below the article.
2. Download the InvisibLights Mod for Minecraft.
3. Open the . minecraft folder and then enter the mods folder. Important: Some older versions of Forge may not have the ‘Open Mods Folder’ button. If this is the case, create the directory under the name mods.
Windows:
Press the Windows key +R at the same time
Type %appdata% and press enter
Find folder Minecraft and then look for the Mods folder within that
Mac:
Click on the desktop and then press Command+Shift+G all at the same time
Type ~/Library and press enter
Open the folder Application Support and then Minecraft.
4. From here, drag in the mods file downloaded (.jar or .zip) you wish to add.
5. Run Minecraft, and you should now see the new mod installed in the list!
Enjoy Download InvisibLights Mod for Minecraft, If there is an error, please comment on this article we will support.
Crafting Recipes:
This mod adds one item: the Rod of Light. (It also adds a block for technical reasons, but you don’t really have to worry about that.)
Here’s how to make one:

To place a light source, you’ll need some glowstone dust in your inventory (unless you are in creative mode). Hold the rod in either your mainhand or offhand and right-click on a surface. Placing a light source consumes two glowstone dust.
Now the best part is you can make the light sources visible! To do that, sneak and right-click the rod of light. You’ll hear a ding sound effect and should notice that all placed light sources have turned visible. You could break them now and even get your glowstone back.
To make everything nicely hidden again, do another sneak right-click.
You can also upgrade your rod to the powered version by attaching some redstone to it!

The powered version can be charged in any Forge Energy compatible charger, and uses some of that energy to place light sources. Please note that the powered rod of light is only available in the Forge version at the moment.
InvisibLights Mod Screenshots:


InvisibLights Mod Download Links:
For Minecraft 1.6.4
For Minecraft 1.7.10
For Minecraft 1.12.2
For Minecraft 1.15.2
Fabric version: Download from Server
For Minecraft 1.16.1
Fabric version: Download from Server
For Minecraft 1.17
Fabric version: Download from Server
For Minecraft 1.17.1
Fabric version: Download from Server
For Minecraft 1.18
Fabric version: Download from Server
How To Download and Install Minecraft Forge (Modding API)?
Minecraft Forge is a free, open-source server that allows players to install and run Minecraft mods. 4 steps to install forge for windows, mac, Linux
1. Download Minecraft Forge at the website, select the version of Minecraft you want to run, then download the installer using your browser.
2. Open the .jar file you just downloaded (Run installer as Administrator), make sure Java is installed on your operating system
3. Select Install Client or Install Server if you want to install for your server, and click OK. Wait about 2 minutes, and you will see a success message.

4. Launch Minecraft and select the Forge profile, then click Play.
5. You will see Minecraft Forge in the lower-left corner and the Mods button under Multiplayer.

Congratulations on successfully installing Minecraft Forge and experimenting with InvisibLights Mod for Minecraft downloaded.
If there are errors, please comment on this article.


