Table of Contents:
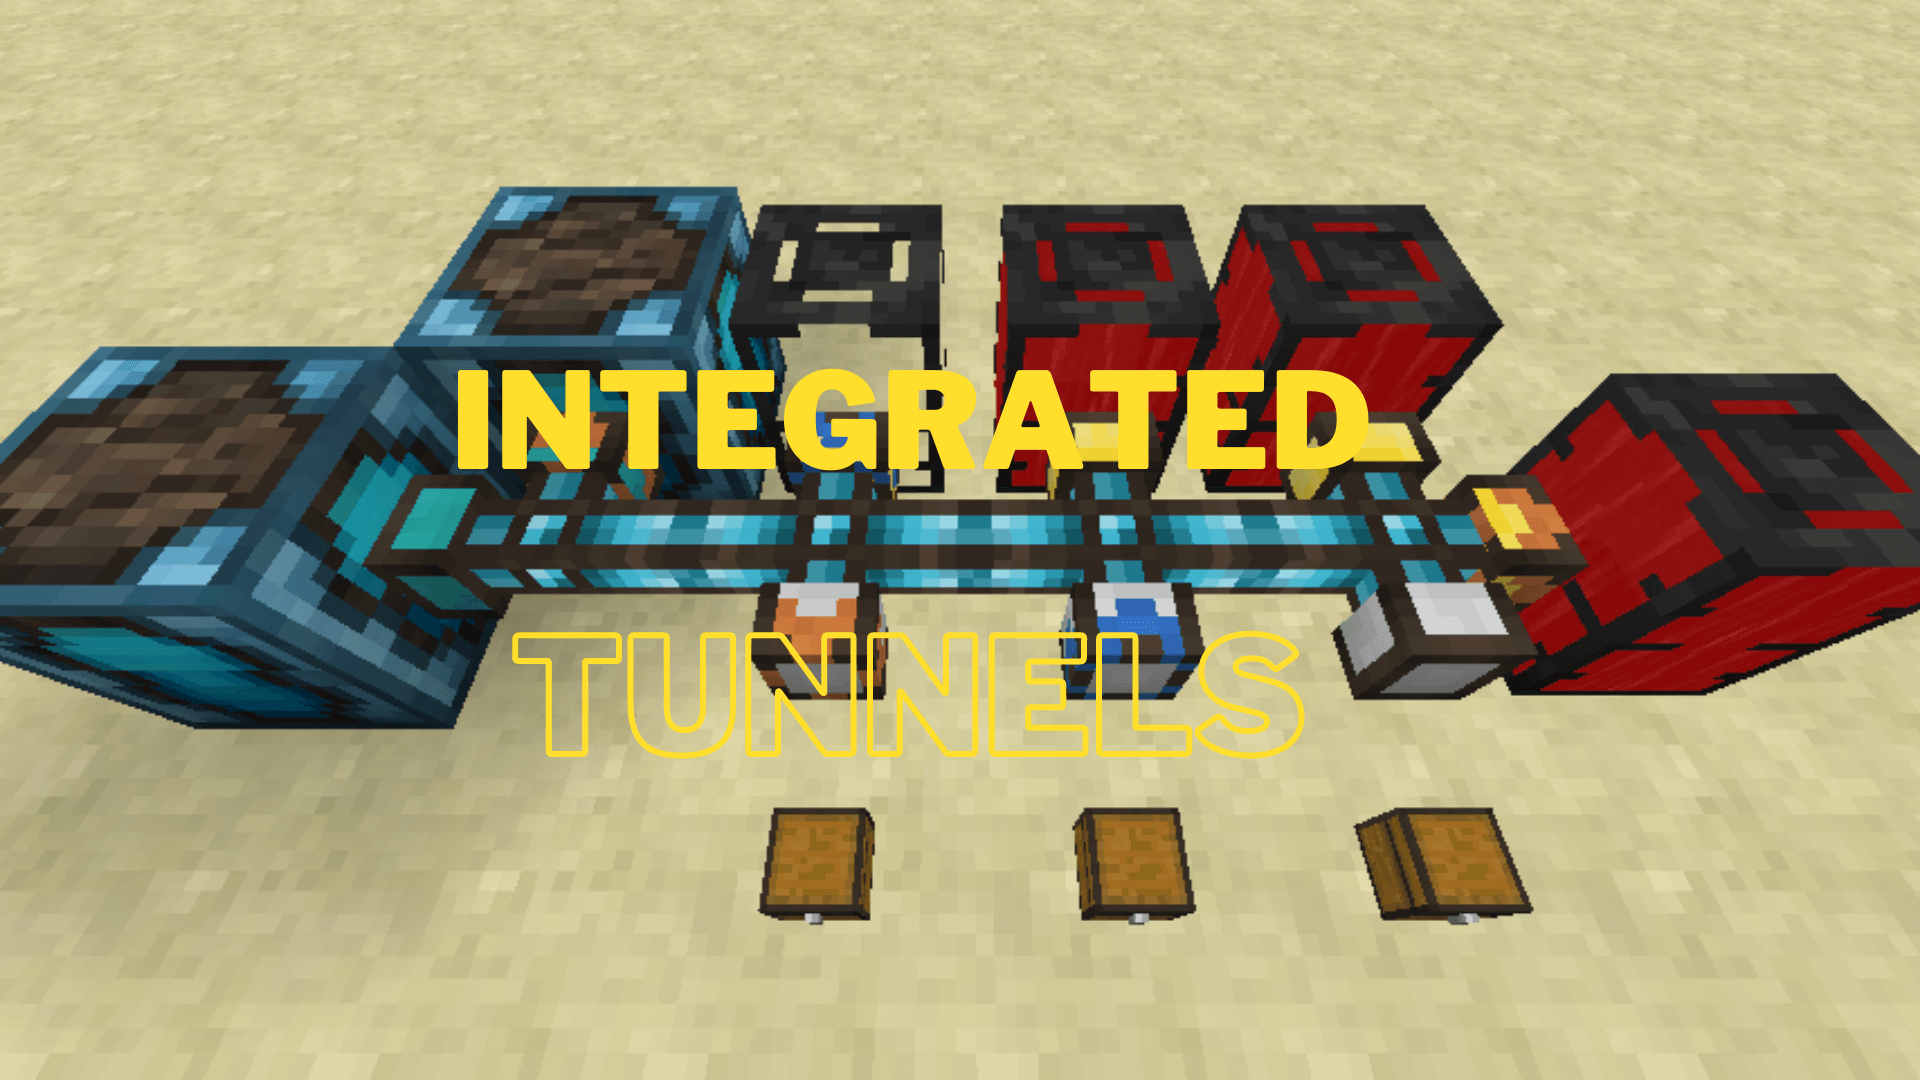
Integrated Tunnels is a mod that adds new ways of transporting items, fluids, and energy using Integrated Dynamics networks. Integrated Tunnels was originally created by the talented mod developer Kroeser but can now be downloaded from the Steam Workshop. The Integrated Tunnels Mod has several different features to make it more convenient for players to use in game with one another.
How to install Download Integrated Tunnels for Minecraft?
Follows 5 Steps below to install Download Integrated Tunnels for Minecraft on Windows and Mac :
1. Download and install Minecraft Forge, you can read the instructions below the article.
2. Download the Integrated Tunnels for Minecraft.
3. Open the . minecraft folder and then enter the mods folder. Important: Some older versions of Forge may not have the ‘Open Mods Folder’ button. If this is the case, create the directory under the name mods.
Windows:
Press the Windows key +R at the same time
Type %appdata% and press enter
Find folder Minecraft and then look for the Mods folder within that
Mac:
Click on the desktop and then press Command+Shift+G all at the same time
Type ~/Library and press enter
Open the folder Application Support and then Minecraft.
4. From here, drag in the mods file downloaded (.jar or .zip) you wish to add.
5. Run Minecraft, and you should now see the new mod installed in the list!
Enjoy Download Integrated Tunnels for Minecraft, If there is an error, please comment on this article we will support.
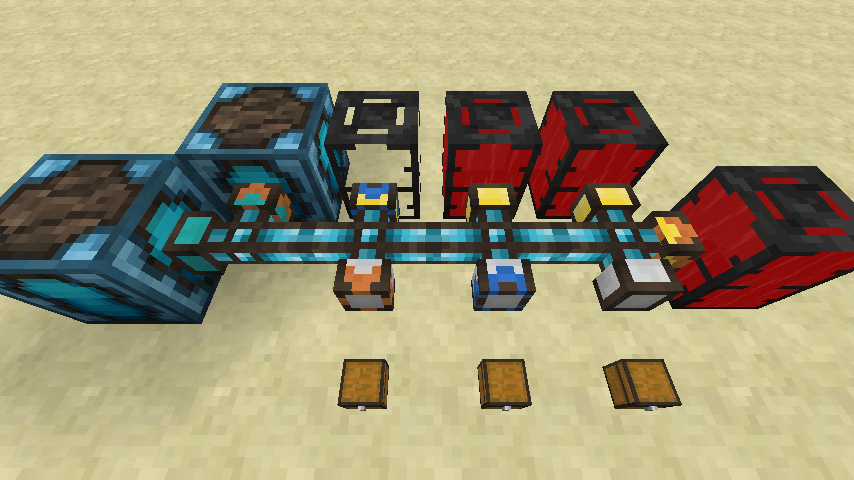
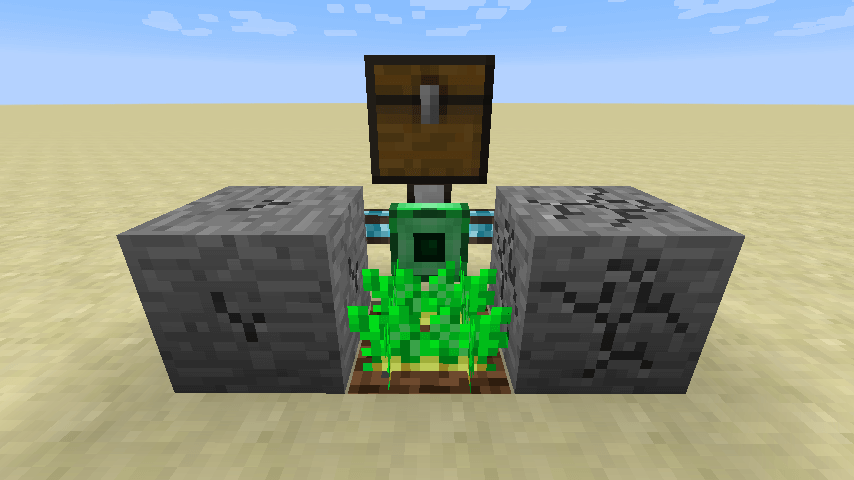
This mod adds 3 part types for the different transport types, namely Importers, Exporters and Interfaces.
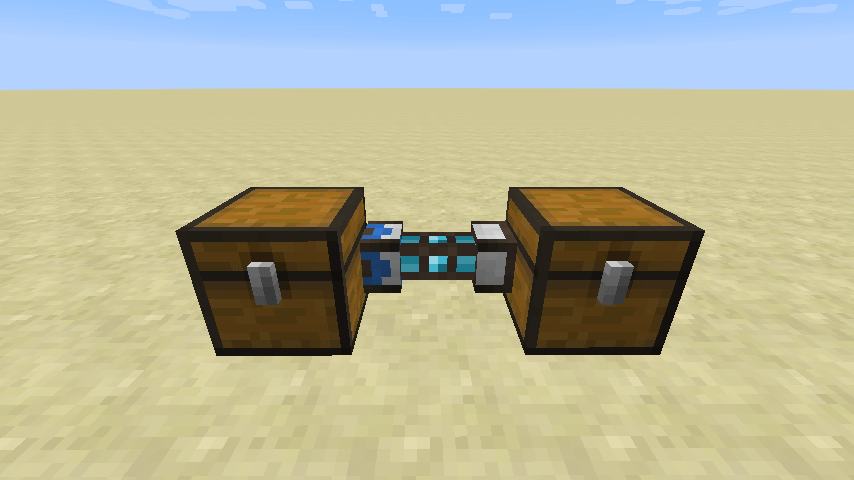
1- Importers (blue) always try to pull from a target, to Interfaces (white) in the same network.
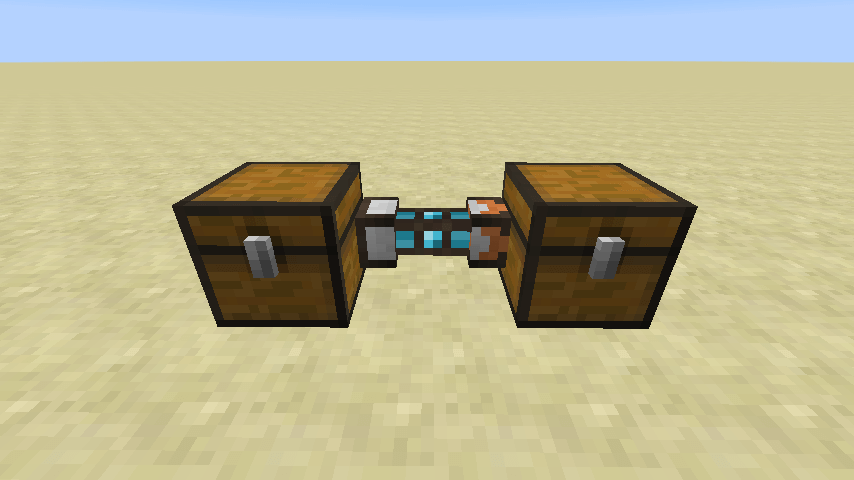
2- Exporters (orange) always try to push to a target, from Interfaces (white) in the same network.
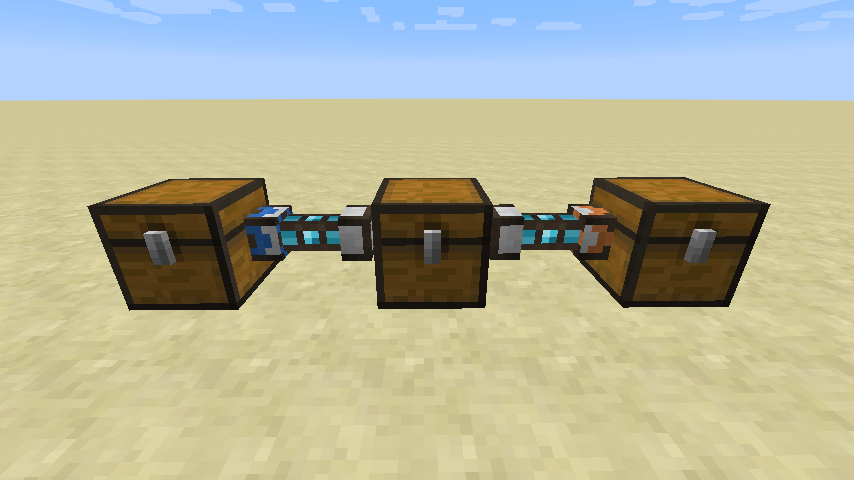
3- Items in this case will always transfer from left to right.
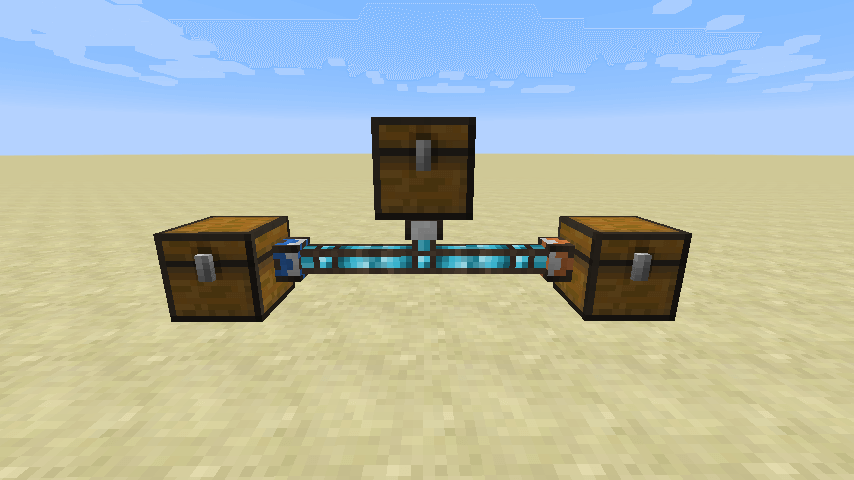
This is an equivalent way to transfer items in a single network. The Importer moves everything from the left chest to the center chest, and the Exporter takes everything from the center chest and outputs it to the right chest.
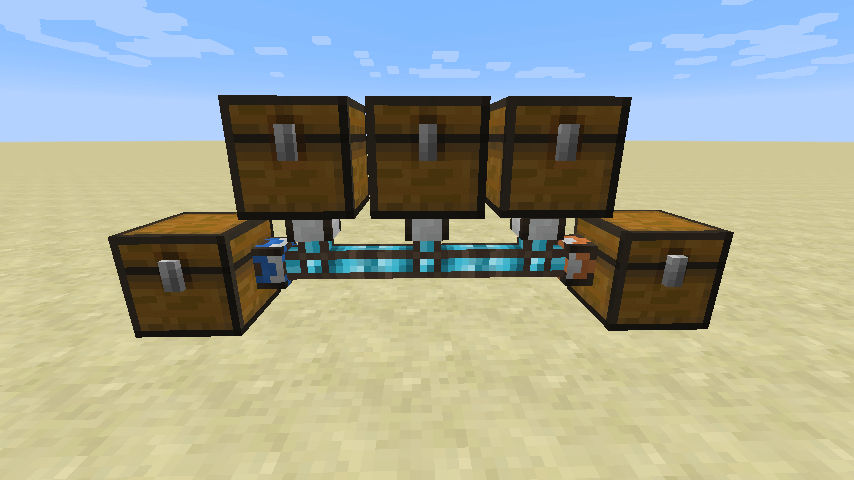
You could add multiple interfaces to your network, and assign priorities to specify which should be filled/emptied first.
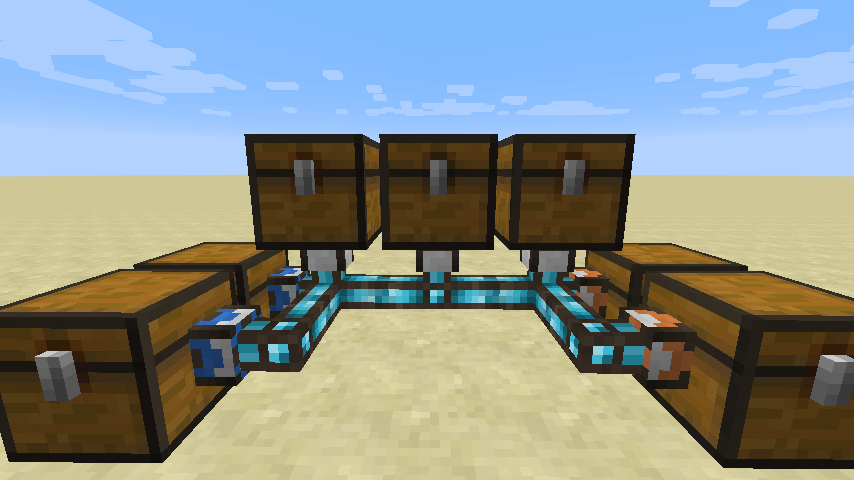
Furthermore, you can also add multiple Importers and Exporter, again with relative priorities.
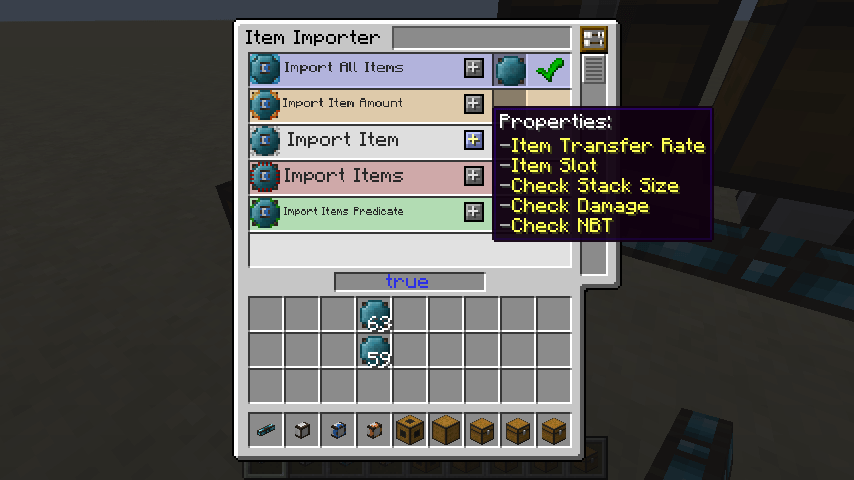
Using Integrated Dynamics variables, you have to specify what items should be moved. If you want to keep it simple, and just move everything, simply use a blank Variable Card.
This system does not only work for items, but also for fluids and energy. As a bonus, they can even exist within the same (Integrated Dynamics) network!
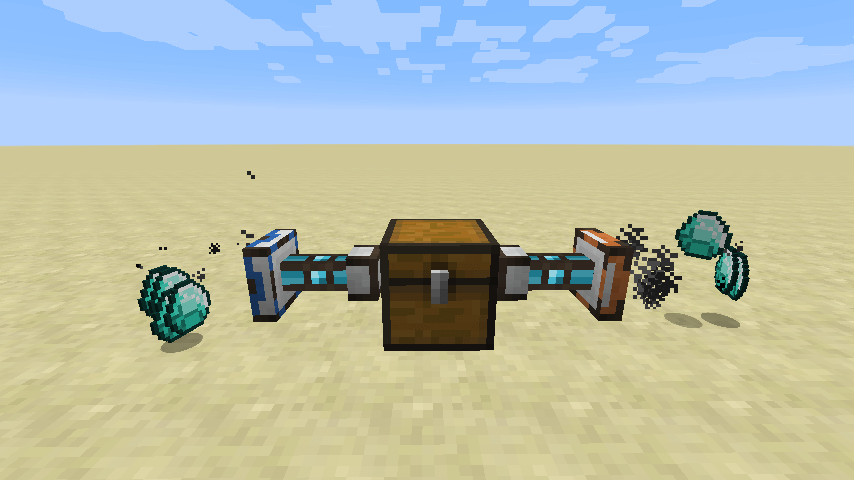
Pickup items/fluids or place them in the world, with various configurable properties such as velocity and angles.
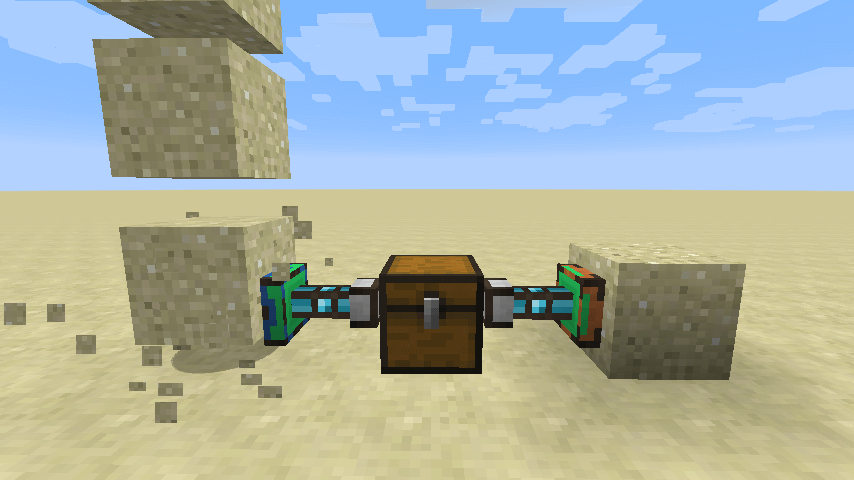
Break blocks and place them in the world, with a lot of configuration options such as silk touching.
Interact with dropped items or items in item frames, for extracting or ingesting energy, items or fluids.
Highly configurable player simulation, for left/right clicking, with or without specific items in any hand.
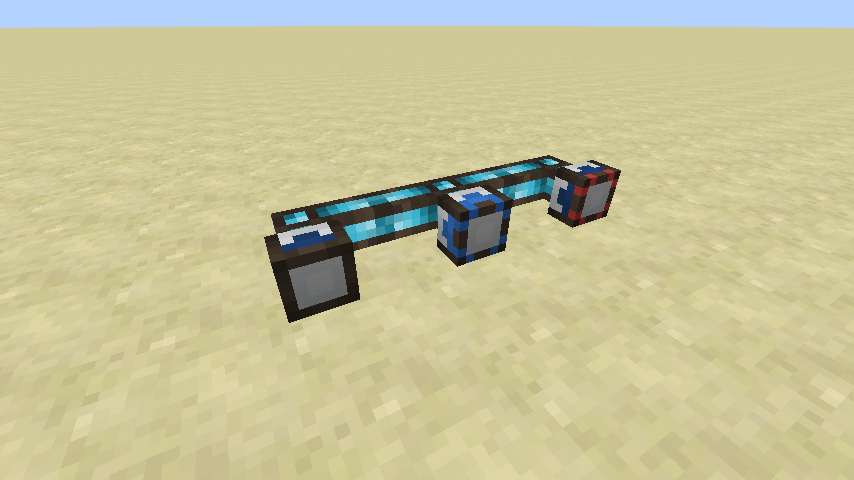
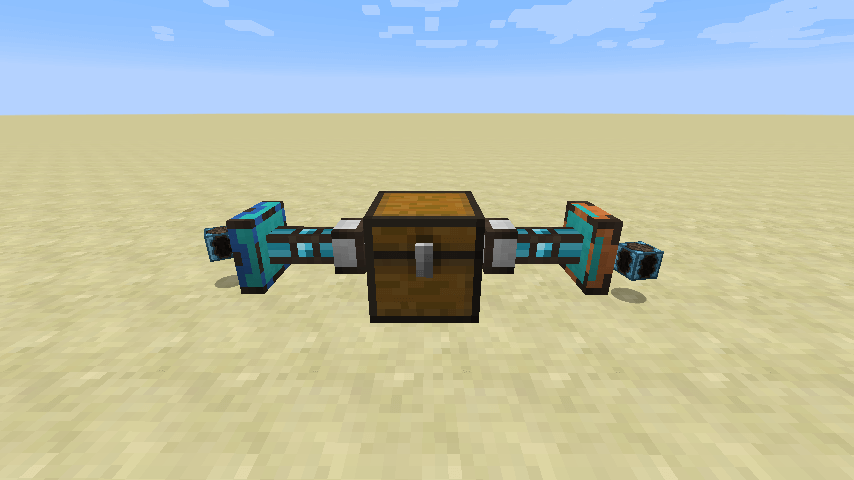
Parts always indicate their current state. From left to right: inactive, active, errored.
Integrated Tunnels 1.16.5/1.15.2 Download Links:
Minecraft Game version 1.12.2:![]()
Minecraft Game version 1.16.4:![]()
Minecraft Game version 1.16.5:![]()
How To Download and Install Minecraft Forge (Modding API)?
Minecraft Forge is a free, open-source server that allows players to install and run Minecraft mods. 4 steps to install forge for windows, mac, Linux
1. Download Minecraft Forge at the website, select the version of Minecraft you want to run, then download the installer using your browser.
2. Open the .jar file you just downloaded (Run installer as Administrator), make sure Java is installed on your operating system
3. Select Install Client or Install Server if you want to install for your server, and click OK. Wait about 2 minutes, and you will see a success message.

4. Launch Minecraft and select the Forge profile, then click Play.
5. You will see Minecraft Forge in the lower-left corner and the Mods button under Multiplayer.

Congratulations on successfully installing Minecraft Forge and experimenting with Integrated Tunnels for Minecraft downloaded.
If there are errors, please comment on this article.